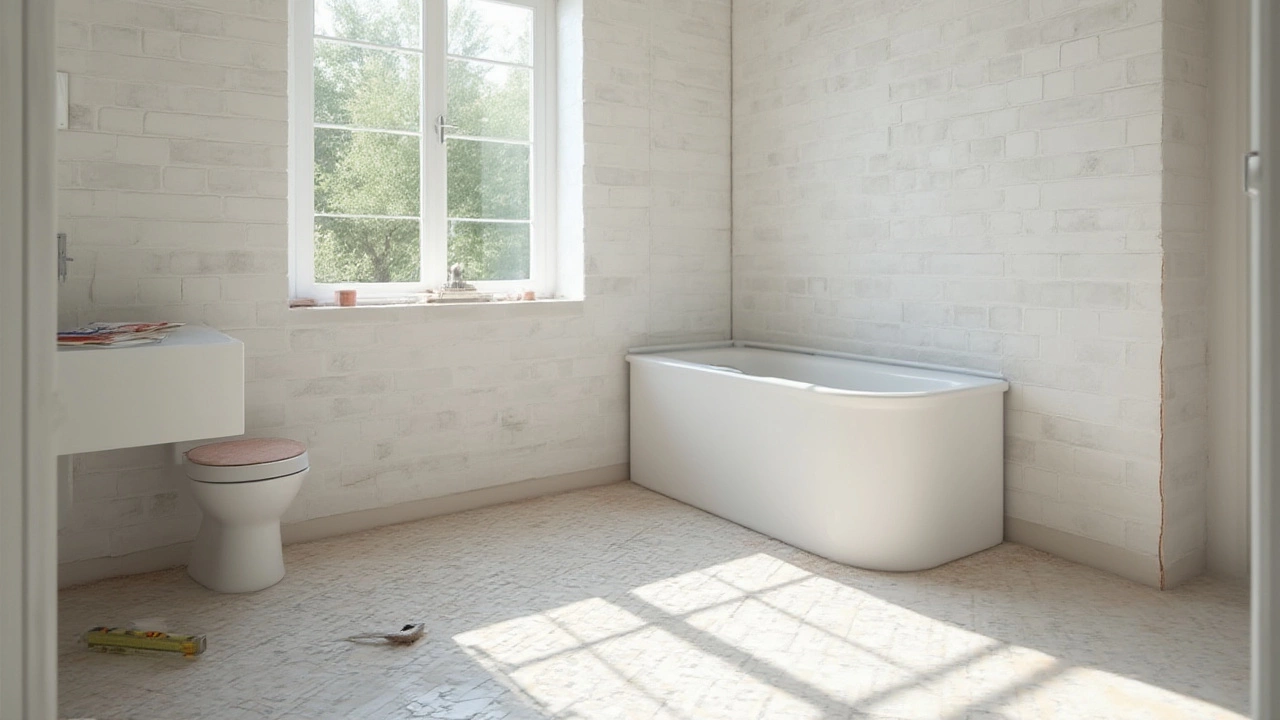
Ever stared at a half-gutted bathroom and wondered if you should go vertical with your work or keep things grounded? The age-old debate: walls or floor first during a bathroom remodel isn’t just contractor trivia—it can make or break your entire renovation. Messing up the order could leave you with awkward seams, tricky transitions, or worse, water issues in the future. If you want to save yourself the headache, some extra bucks, and hey, maybe even keep your sanity (kids banging on the door, anyone?), it pays to figure out the right sequence before you’re knee-deep in tile.
The Real Reasons Order Matters in a Bathroom Remodel
Deciding between walls or floors first isn’t a question of personal style—it’s about structure, waterproofing, and long-term durability. Think about it: Each step literally lays the groundwork for the next (sometimes literally). If you slap floor tiles down and then work on the walls, you run the risk of dropping heavy tools or making splashy messes that can crack or stain your pristine new floor. And if you tackle the walls first? Suddenly your fingers dance across troweled adhesive, box after box of tile, and you realize you haven’t left enough breathing room for the floor tiles that will butt up against them. I remember the first time I tackled a full DIY bathroom myself—Gideon, my son, thought the bathroom looked cool ‘half finished,’ but I promise you, I did not.
Some seasoned pros opt for walls first, but with a twist: they leave out the last row at the bottom, about one tile-height up from the floor. Why? It lets them install the floor tile right up to the wall (so it’s fully supported and watertight), then finish with that last wall row to hide the inevitable cuts and minor imperfections at the base. It’s honestly genius—the aesthetic looks seamless, and water can’t sneak behind the base tiles. The North American Tile Council, and most major tile manufacturers, actually endorse this exact method for wet rooms and bathrooms. Mess-ups are not just unsightly; they can turn into insurance claims if water leaks below or behind tiles, destroying subfloors or swelling the wood beneath. This isn’t just theory—HomeAdvisor reported water damage as the top hidden bathroom renovation cost in 2024, with claims averaging $3,200 per incident. So yeah, order really matters.
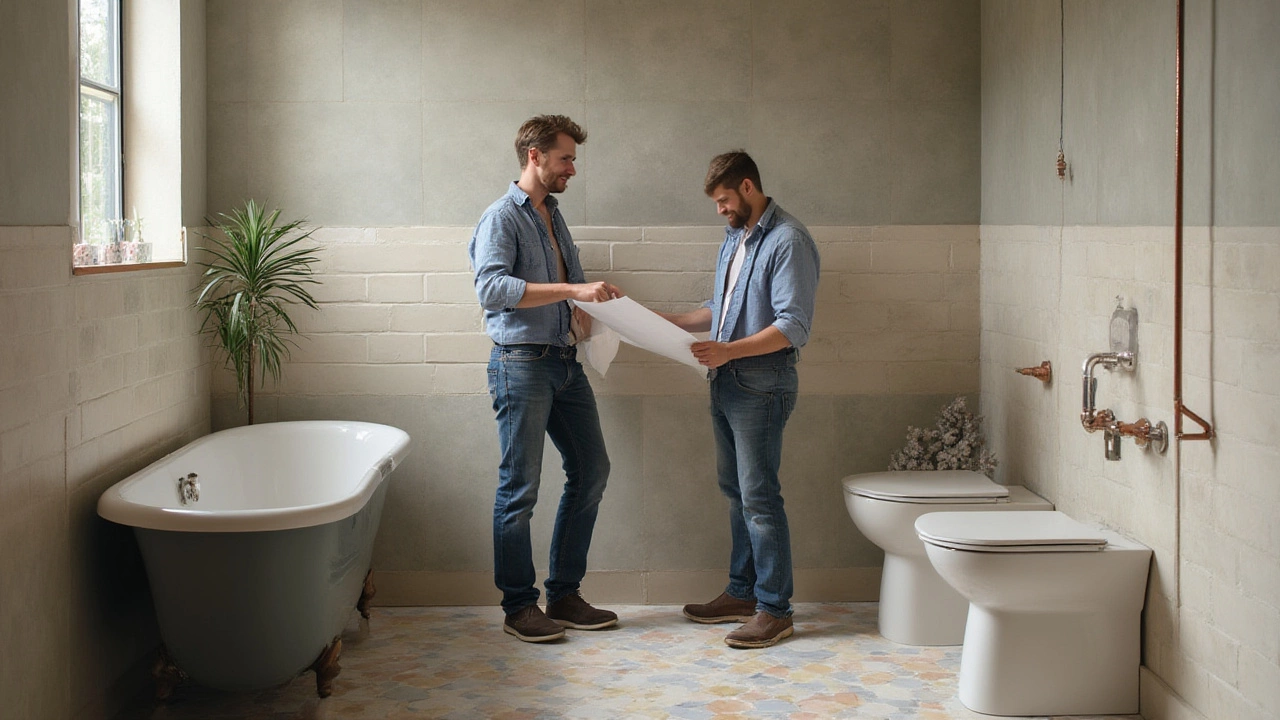
Step-by-Step: What The Pros Actually Do (And Why)
If you watch a team of pros on a big bathroom job—say, in a hotel or the typical American suburban home—you’ll notice a pattern. Here’s how they usually tackle it:
- Prep everything. Waterproofing membranes and cement backer boards on walls and floors go in first, always. This isn’t just apron talk—skipping even small waterproofing steps can void warranties and screw future owners.
- Tile walls, minus the bottom row. That last row at the base is left open while the rest of the walls are set and leveled. Why skip it? It keeps the bottom wall tile from being uneven or overlapped awkwardly when the floor goes in.
- Tile the floor. Bring those floor tiles flush to the wall, or up to the edge of your shower pan if you have one. This makes hidden seams tighter and keeps water on the right side of the grout lines.
- Finish the bottom row of wall tiles. Now you can cut these tiles to fit the exact dimension; if your floor is slightly out of level (and in older homes, wow, it usually is), nobody will notice except you—and maybe your nosiest neighbor.
- Grout and caulk everything at once. This seals the deal and protects against future splashes, spills, and science-project-level mildew growth.
Seems complicated? Trust me, it pays off. A friend of mine in Denver ignored these steps because he "was in a rush." He ended up with floor tiles that stuck out a quarter inch beyond the walls, creating a little ledge that collected dirt, stray socks, and even the occasional action figure—Gideon’s favorite Batmobile disappeared into that gap for weeks.
Common Slip-Ups: How DIYers and Contractors Both Get It Wrong
Things can go sideways fast if you skip steps or guess. I’ve seen folks rip out bathroom floors weeks after "finishing" because they tackled the floor first, installed wall tile flush down to the subfloor, and then realized their floor tiles wouldn’t sneak neatly underneath. Worse still, some opt for "tiling everything in one go," thinking it’ll save time. Nope. This has led to more jagged grout lines and uneven transitions than I care to count. Even the pros slip up: a 2023 survey by Houzz found that 1 in 7 bathroom contractors had to redo tile edges because they ignored the golden rule—leave room, then finish last.
There’s also the debate around waterproofing order. For showers especially, you want your waterproof mat or liner to rise behind the wall tile and overlap the floor membrane, just like a shingle roof. Gravity will always beat you if you let moisture sneak behind your best-laid tiles. Skipping the manufacturer’s order? That can void warranties, and tile brands like Schluter or DITRA basically spell this out in their guides.
Another pitfall is mismatching tile thickness. Wall and floor tiles are often different sizes and sometimes different heights. If you tile the floor first, then try to match a thinner wall tile and thick floor tile, you can end up with strange steps, ledges, or even tripping hazards at thresholds—the opposite of spa vibes. Trust me, nobody wants a remodel that actually adds danger to the morning dash for the shower.
Tips for Getting It Right: Your Bathroom Tile Checklist
So, how do you keep your bathroom looking sharp and, more importantly, hold up for the long term? Here are a few battle-tested tips:
- Measure twice, cut once: It’s a cliché, but tile mistakes are expensive. Dry-lay both wall and floor tiles to see how the edges line up before mixing any thinset.
- Use leveling spacers, especially in older homes. Subfloor and walls are rarely dead-on even—spacers help avoid "drunken" grout lines.
- Always read manufacturer instructions. If you’re using heated floors, for example, install your radiant heat mats with your backer board, prior to tiling the floor.
- Consider large-format floor tiles for cleaner lines and less grout. Fewer seams make cleaning easier—especially when you have kids who never aim their toothpaste right.
- Plan tile transitions. If your bathroom bumps into hardwood or carpet, figure out reducer strips or Schluter edging in advance, not after everything’s mortared down.
- Save extras! Keep a box of leftover tile in the garage. Tile styles change yearly. When Gideon’s skateboard or a leaky toilet chips one, you’ll thank yourself.
Need a quick breakdown? Here’s a handy visual for tile order, based on what’s most common in North America and recommended by waterproofing manufacturers. It’s not the only way—European and Asian methods differ—but for most US homes, following this keeps everything, well, flowing:
| Step | Order of Work | Key Reason |
|---|---|---|
| 1 | Waterproof and prep walls/floors | Prevents leaks, supports tile adhesion |
| 2 | Tile walls (except bottom row) | Cleans up cuts, easier leveling |
| 3 | Tile floor | Straight finish edge, supports walls |
| 4 | Finish wall bottom row after floor | Hides flaws, covers edge |
| 5 | Grout & seal all tiles | Waterproofs, final finish |
If this still feels daunting, remember: Bathrooms are some of the trickiest rooms in any house. You’re contending with tight corners, endless plumbing, strange slopes—my last remodel had a drain that sat a quarter-inch higher than the planned tile plane, something discovered only after the first round of floor tile set.
So, walls or floor first? If you’re chasing that magazine-cover look and want your tiles to last as long as your mortgage, go with walls (leaving the bottom row off), then handle the floor, then finish off that last tidy row. Take your time, follow the checklist, and you’ll sidestep the siren song of "shortcuts." And hey, if all else fails, you can always call in a pro—just don’t forget to keep a few action figures out of harm’s way, unlike me.
Author
Damon Blackwood
I'm a seasoned consultant in the services industry, focusing primarily on project management and operational efficiency. I have a passion for writing about construction trends, exploring innovative techniques, and the impact of technology on traditional building practices. My work involves collaborating with construction firms to optimize their operations, ensuring they meet the industry's evolving demands. Through my writing, I aim to educate and inspire professionals in the construction field, sharing valuable insights and practical advice to enhance their projects.