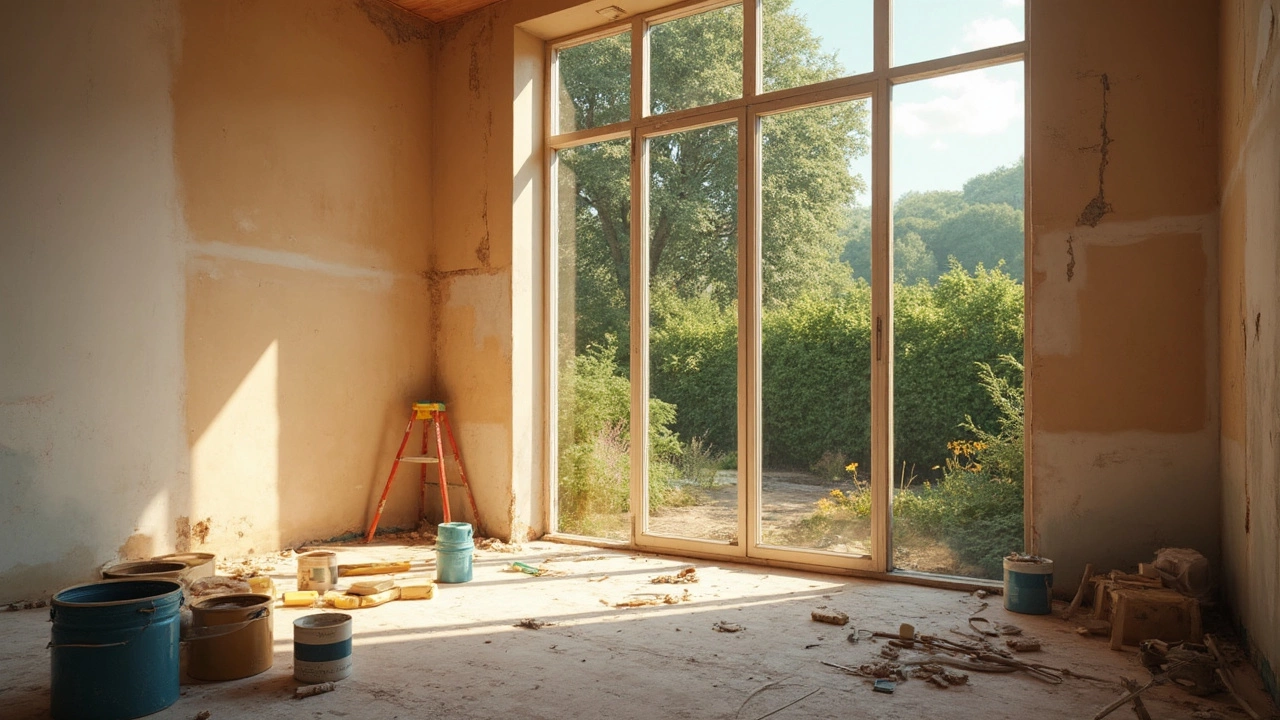
Getting your hands on a new build is thrilling. But then comes the big question: can you start painting right away? Well, hold your horses. Timing is everything when it comes to painting new homes. The trick is to wait until the plaster and materials have thoroughly dried. We're talking weeks, not days, so patience will pay off big time.
Now let's talk prep work, because slapping paint on a fresh wall without preparation could lead to disaster. Proper surface preparation is key to make sure your paint lasts. This means cleaning the walls, maybe doing a bit of sanding, and definitely priming.
- Timing: When to Start Painting
- Preparing the Surface
- Choosing the Right Paint
- Expert Tips for a Perfect Finish
Timing: When to Start Painting
So, you're itching to bring color to your new walls, but knowing when to start painting is key. The initial enthusiasm can be tempting, but rushing in could mean trouble down the road. In the world of painting new builds, patience really is a virtue!
First off, moisture is your nemesis. New builds need time to dry out, especially after they've been plastered. You should wait about six to eight weeks for the walls to properly dry and settle. This wait is crucial for avoiding issues like peeling or blistering later on.
If you're dealing with concrete or brickwork, bear in mind these materials can retain moisture for considerably longer. Testing the moisture level is a smart move. You can use a moisture meter to ensure the walls are at a safe level for painting. A moisture content below 10% is generally good to go.
Keep the weather in mind too. A humid, rainy season can extend the drying time, while a dry, sunny streak can speed things up. Sometimes, good old sunshine can help dry things out faster, but don't rely on it alone.
And remember, a bit of patience now prevents a heap of headaches later. Once the structure is dry, you’ll have a perfect canvas to create your dream space, minus any disappointing surprises.
Preparing the Surface
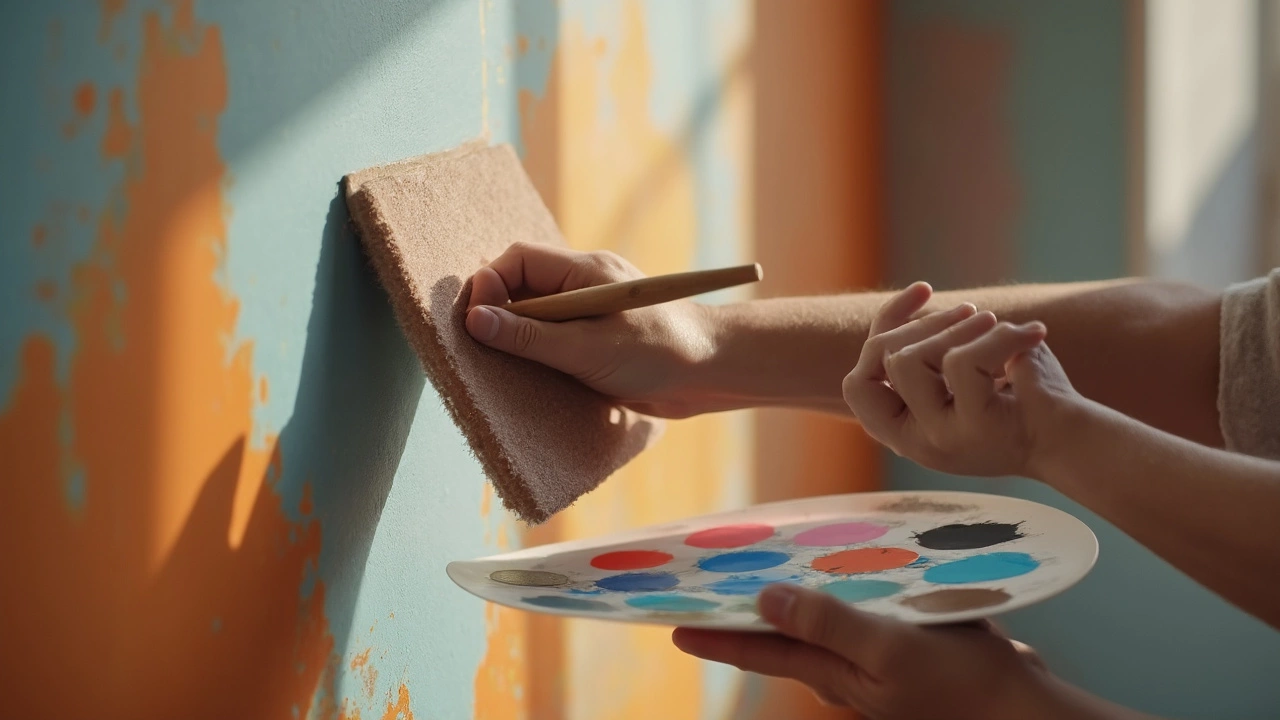
Getting your new build walls ready for paint isn't just a matter of grabbing a brush and getting to work. It's more like laying the foundation before building a house. The first step is pretty straightforward: clean the walls. New walls might seem pristine, but trust me, they're not. Dust, grease, or builders' fingerprints can mess with your paint job. Grab a damp cloth or a mild detergent to wipe them down.
Next up is checking for imperfections. This bit's as important as it sounds. Even new builds can have tiny blemishes. Feel the surface with your hand; if it feels bumpy or has rough spots, a light sanding is in order. Speaking of sanding, use a fine-grit sandpaper for the job—nothing too harsh. The goal is to make the surface as smooth as possible.
Once that's squared away, it's priming time. Wondering why you need this extra step? A primer helps the paint adhere better, making your colors pop and last longer. It also saves you paint in the long run as it reduces the number of coats you'll need. Choose a primer that's suited to your type of wall, whether it's drywall, plaster, or something else.
- Clean the walls with a damp cloth.
- Check for and sand down any rough spots.
- Apply a suitable primer based on wall type.
Follow these steps, and your new build decoration project will be off to a solid start, making those vibrant colors pop beautifully on smooth, well-prepped walls.
Choosing the Right Paint
Picking the perfect paint for your new build can turn a blank canvas into your dream home. You're gonna want to choose wisely here, as the type of paint you use can impact the look, feel, and even durability of your walls. So, what should you consider? Start with water-based (latex) or oil-based paints. For most indoor projects, water-based is your go-to choice owing to its easy clean-up and quick drying time.
Think about the finish, too. If you want something easy-to-clean in high-traffic areas like the kitchen or bathroom, a semi-gloss or satin finish works wonders. For living rooms or bedrooms, you might lean towards an eggshell or matte finish for a softer look.
Let’s not forget the environmental aspect. Low-VOC (volatile organic compound) paints are kind of a big deal nowadays. They have fewer harmful chemicals, which is better for you and Mother Earth. Always check labels for these credentials before committing.
Color is what we love to chat about. The trick is to stick with lighter shades if you want to make a room feel bigger and more welcoming. But don’t be afraid of going bold in smaller doses. Accent walls, anyone?
| Type | Average Drying Time | Durability |
|---|---|---|
| Water-based | 1-2 hours | Good |
| Oil-based | 6-8 hours | Excellent |
Remember, armed with the right paint and a little creative eye, transforming your new home won't seem like rocket science. So choose smart, paint happy!
Expert Tips for a Perfect Finish
Getting that sleek finish on your new build can feel like a magic trick, but it's all about using the right techniques and materials. For starters, always use high-quality brushes and rollers. They make a huge difference in how your paint goes on and lasts. A cheap brush might shed bristles or not hold enough paint, making your job harder than it needs to be.
Speaking of paint, choosing the right type is crucial. For most new home painting projects, latex paint is a go-to option because it’s durable and easy to clean. If you're tackling areas with higher moisture like kitchens and bathrooms, opting for paint with a mildew-resistant feature can keep your walls looking fresh longer.
Along with tools and paint, technique matters. Always paint in natural light if you can. Shadows can play tricks on the eyes, leading to missed spots or uneven coverage. When applying paint, work in sections and use a 'W' pattern to get the most smooth, consistent coverage. Overlapping edges properly is key to avoiding streaks.
One thing many folks forget is ventilation. Keep windows open and set up fans if possible, to aid in drying and to avoid a build-up of paint fumes. It's easy to overlook, but it's pretty essential for both drying time and your health.
Remember, a little planning helps make a big difference. Organizing your space before starting, with drop cloths and painters’ tape where needed, will save you cleanup time and prevent accidental splatters.
Lastly, don’t rush the process. Each coat needs time to dry—usually at least 4-6 hours depending on humidity and temperature. Jumping the gun here can lead to uneven layers, so trust the process and let each layer do its thing. You'll thank yourself later when your walls are looking spick and span.
Author
Damon Blackwood
I'm a seasoned consultant in the services industry, focusing primarily on project management and operational efficiency. I have a passion for writing about construction trends, exploring innovative techniques, and the impact of technology on traditional building practices. My work involves collaborating with construction firms to optimize their operations, ensuring they meet the industry's evolving demands. Through my writing, I aim to educate and inspire professionals in the construction field, sharing valuable insights and practical advice to enhance their projects.