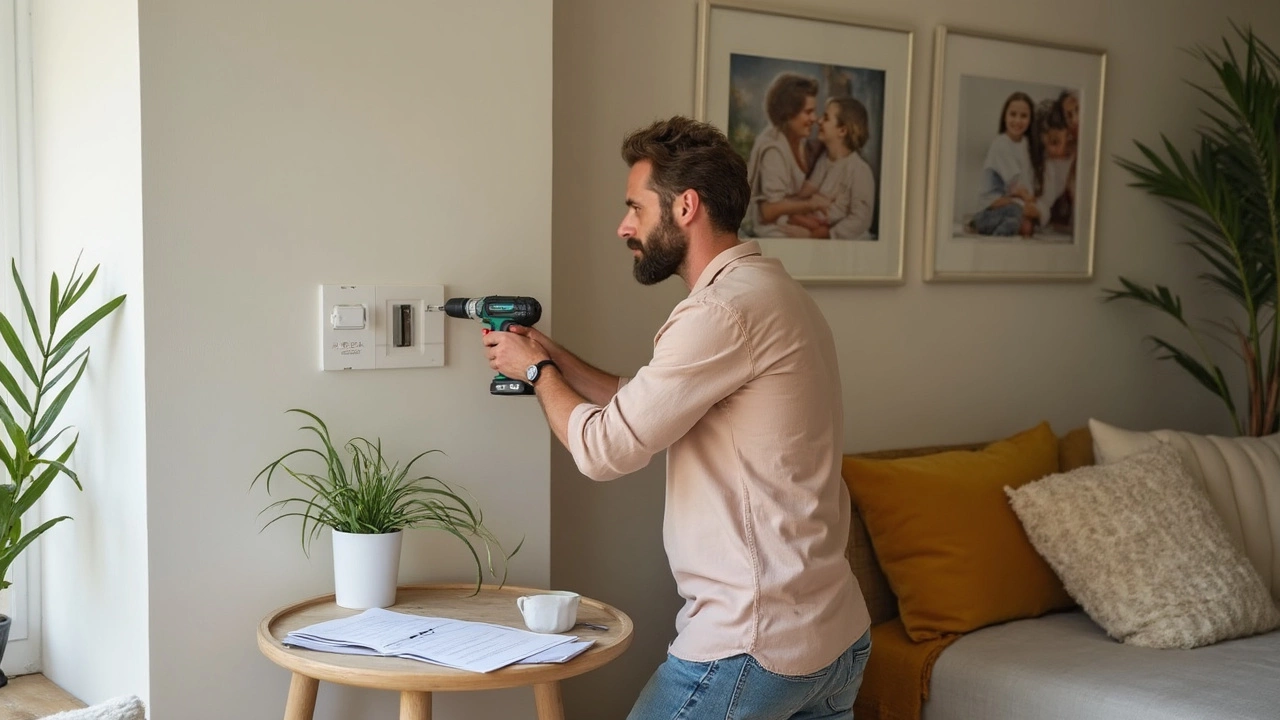
So, you've just moved into your shiny new home, and you're itching to put up those picture frames or that stylish shelf. But here's the kicker – you're not sure if you can drill into those fresh new walls. Don’t worry, you’re not alone in this. Many new homeowners dance this jig of uncertainty when it comes to drilling their first hole.
First things first, it’s crucial to know what you're up against. Not all walls are made equal. Is it drywall? Brick? Concrete? Figuring this out is your golden ticket to a smooth process. Drywall is common in new builds, and it’s generally easier to deal with. But if you’ve got something sturdier, like brick or concrete, you’re going to need a different approach and maybe some stronger arms.
Once you’ve sussed out the wall type, you need the right tools – and boy, does the right drill make all the difference. For most folks, a basic power drill with a masonry bit does the trick, but if you're working with something tougher, consider borrowing or investing in a hammer drill.
- Understanding Wall Types in New Homes
- Essential Tools for Drilling
- Safety First: Precautions to Take
- Tips for a Successful Drilling Experience
- Avoiding Common Mistakes
Understanding Wall Types in New Homes
Before you even think about picking up that drill, it’s super important to know what kind of wall you’re dealing with in your new build. Different materials mean different rules and tools, so let's break it down.
Common Wall Materials
Drywall is probably the most common beast you'll encounter in modern homes. It’s lightweight, easy to work with, and forgiving if you make a mistake. You can easily patch it up if something goes wrong. But remember, drywall can only hold so much weight!
Now, if you’ve got brick or concrete, you're dealing with the heavy-duty stuff. These materials are rock-solid – literally! They require more effort to penetrate and the right kind of drill bit, usually a masonry bit. On the upside, they do offer excellent support for heavier installations.
How to Check Your Wall Type
Not sure what you’re working with? Here’s an easy trick: Knock on the wall. A hollow sound usually means drywall, which is built on timber frames. A dense, hard knock probably means brick or concrete. If you’re still unsure, look around for exposed sections like in an unfinished utility area or a basement.
Considerations for New Builds
Most new builds follow standard practices: drywall with either timber or metal framing. This is great for insulation and ease of handling, but each type has its own quirks. Metal stud walls are a tad trickier when it comes to finding secure fixing points.
Also, remember that new builds might still be settling. It’s always a good idea to give it some time before going drill crazy, especially for heavy items. Be patient and let things fall into place – literally! If you're rushing to personalize, just start with lighter installations.
Essential Tools for Drilling
Okay, you've identified the type of walls you're dealing with in your new build, and you're ready to take on the task. But wait, do you have the right arsenal? Trust me, having the right set of tools makes life so much easier when you're about to drill into those pristine walls.
Choosing the Right Drill
The first thing on your shopping list should be a reliable power drill. For most new build walls, a standard drill should suffice, but if you're dealing with something like concrete, a hammer drill is your best friend. It's built for those tough jobs. If you're the thrifty type, consider renting one instead of buying.
Bits Matter Too
Don’t just grab any drill bits lying around. For drywall, standard bits are fine. For masonry or concrete, you'll need a masonry bit. These are specially designed to cut through tougher materials without burning out your drill.
Safety Gear is a Must
Don't skimp on safety gear. Goggles keep debris out of your eyes, while a dust mask can help with air quality when things get dusty. And if you've got folks or pets around, ear protection is not a bad idea either.
The Little Things that Help
- Wall Anchors: These are lifesavers when you're hanging stuff. They distribute weight and prevent that awful ripping sound.
- Stud Finder: Don’t just knock on the wall and hope for the best. A good stud finder will save you a ton of guesswork.
- Measuring Tape: Because guessing isn't a great measuring technique.
Proper tools can transform a daunting task into a manageable one. It’s all about preparation. Armed with the right gear, you’re set to tackle those new build walls like a pro!

Safety First: Precautions to Take
Drilling into new build walls isn't just about having the right tools; it's also about doing it safely. Safety should always be your number one priority when undertaking any DIY project. Let's talk about how you can keep yourself and your walls safe while you're at it.
Know What's Behind the Wall
Before you even think about picking up that drill, make sure you know what's lurking behind your walls. Hidden pipes, electrical wires, or ductwork can turn your DIY adventure into a major headache. Grab a stud finder with electrical sensors to help you out. It's a small investment that can save you big time.
Gear Up Properly
Safety gear is not just for the pros. While you might feel like Superman, trust me, you need to protect yourself. Essential gear includes:
- Safety goggles: To keep dust and debris out of your eyes.
- Ear protection: Power drills can get pretty loud.
- Dust mask: Especially if you're drilling into materials like drywall that can create a lot of dust.
Secure Your Work Area
Keep the drill area clear of clutter. You don't want to trip over your toolbox with a drill in hand, right? Ensure the floor is clean and there's plenty of room to move around. Also, have ample lighting so you can see exactly what you're doing.
Drill with Precision
Once you're all set up, start by drilling a small pilot hole. This gives you control and helps guide the main drill bit. Remember to use the right bit for the material you're working with, which can make all the difference in maintaining control and avoiding unnecessary damage to your new build walls.
Pay attention to any unusual resistance, and stop if you suspect you're hitting something unexpected. Better to check twice than risk damaging wiring or pipes that might be there.
Tips for a Successful Drilling Experience
Kicking off with a foolproof drilling session into your new build can feel like a win, but there are certain steps to make sure you don’t hit any unexpected roadblocks. It’s not just about making holes; it’s about doing it right and safely.
1. Prepare Your Workspace
Start by clearing the area you’re going to work in. Move aside any furniture and cover nearby surfaces to protect them from dust and debris. Keep your tools within easy reach so you're not constantly breaking your flow.
2. Use the Right Drill Bit
Choosing the correct drill bit is crucial for a clean job. If you're dealing with drywall, a regular bit works fine. But concrete or masonry walls call for a masonry bit to avoid damage or dulling your tools quickly. Trust me, using the wrong bit leads to nothing but frustration.
3. Measure and Mark Before You Drill
You want to make sure you only drill once. Use a level and a measuring tape to mark exact spots. Double-check your measurements because it's better to be safe than have a bunch of unnecessary holes messing up your fresh space.
4. Check for Wires and Pipes
Puncturing a wire or pipe isn’t just inconvenient; it's dangerous. Use a stud finder with wire detection capabilities before drilling. If you don’t have one, these gadgets are a smart investment for any DIY enthusiast.
5. Slow and Steady Wins the Race
When you’re ready to drill, start slowly. Rushing can lead to mistakes or damage. A steady hand with consistent pressure will ensure your bit stays straight and doesn’t wander off target. It’s like making the first cut with a knife – slow and steady sets you on the right path.
| Wall Type | Recommended Drill |
|---|---|
| Drywall | Standard Power Drill |
| Concrete | Hammer Drill |
| Brick | Masonry Drill |
6. Clean Up Afterwards
Once you’ve finished drilling, take a minute to clean up. Use a vacuum for loose debris and a damp cloth for surface dust. It not only leaves your space neat but gives you a chance to inspect the work you’ve done.
There you go! Follow these steps, keep calm, and drill on. Personalizing your new build has never been easier with these tips up your sleeve.

Avoiding Common Mistakes
Drilling into new build walls can feel like a daunting task, especially when you're worried about committing those dreaded DIY faux pas. Let’s dive into some common mistakes to steer clear of, so you can hang that shelf with confidence.
Skipping the Prep
A big mistake is not preparing properly. Before drilling, ensure you’ve marked your spot accurately. Measure twice, drill once – that’s a DIY mantra everyone should embrace. Use a level to avoid crooked disasters.
Wrong Drill Bit
Using the wrong drill bit is another typical misstep. For drywall, use a standard bit, but for tougher materials like concrete, grab a masonry bit. It sounds simple, but it’s a lifesaver.
Forgetting Safety Gear
You wouldn't believe how many folks skip on safety. Goggles and gloves aren't just for the pros; they're for anyone who values their eyes and hands. Don’t skimp here.
Ignoring Wall Anatomy
Here’s a tip: use a stud finder. Many new builds have hidden pipes and wires. Drilling into those won't just ruin your day; it could lead to costly repairs.
Poor Anchor Choice
Choosing poor-quality anchors or skipping them altogether is a recipe for things crashing down. Use suitable wall anchors for new build walls. Drywall anchors work for lighter items, while stronger anchors are needed for heavier stuff.
| Error | Consequence |
|---|---|
| Wrong drill bit | Bit damage, ineffective drilling |
| Skipping safety gear | Potential injury |
| Misjudging wall type | Wall damage |
Rushing the Job
Finally, avoid rushing. Take your time, especially if it’s one of your first DIY projects. Rushing often leads to mistakes, and fixing them can be twice the work.
By dodging these missteps, you'll ensure a smoother, more successful drilling experience. Happy DIYing!

Author
Damon Blackwood
I'm a seasoned consultant in the services industry, focusing primarily on project management and operational efficiency. I have a passion for writing about construction trends, exploring innovative techniques, and the impact of technology on traditional building practices. My work involves collaborating with construction firms to optimize their operations, ensuring they meet the industry's evolving demands. Through my writing, I aim to educate and inspire professionals in the construction field, sharing valuable insights and practical advice to enhance their projects.