Foundation Repair DIY Risk Assessment Tool
Foundation Repair Decision Assistant
Answer 4 questions to assess your situation
What is the orientation of the crack?
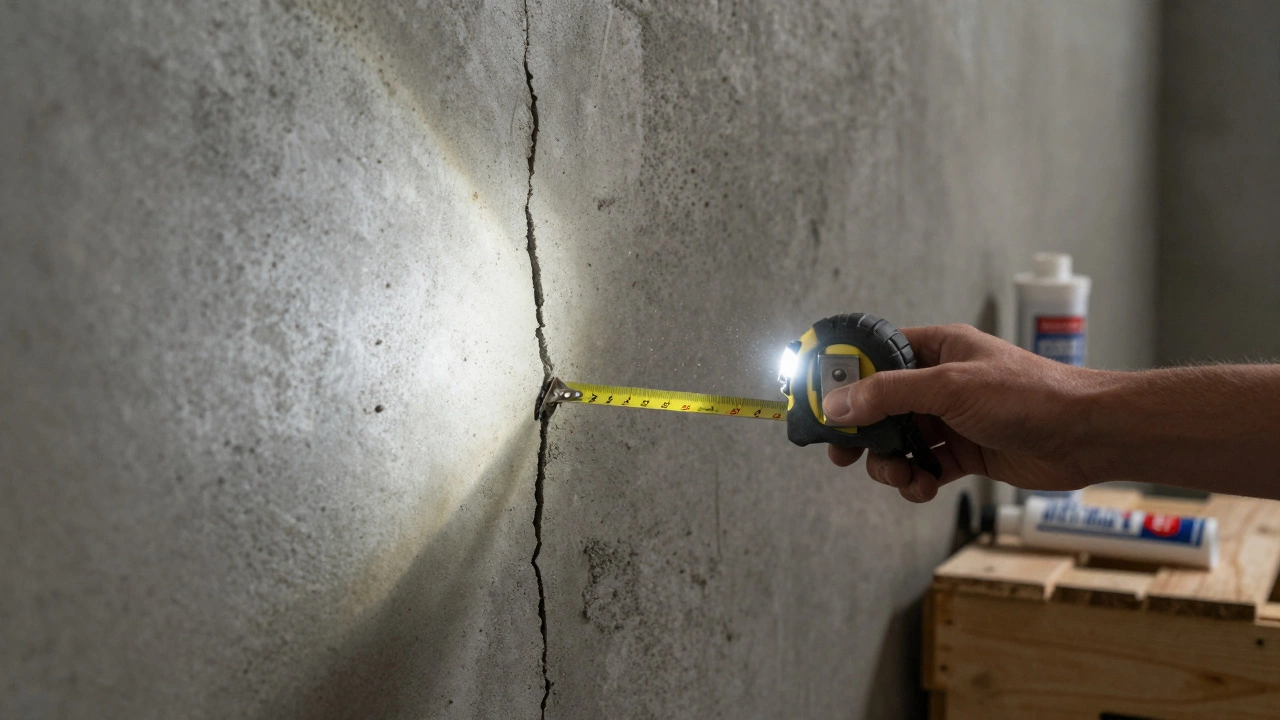
How wide is the widest part of the crack?
Are there any signs of water intrusion?
Have you noticed other structural issues inside the house?
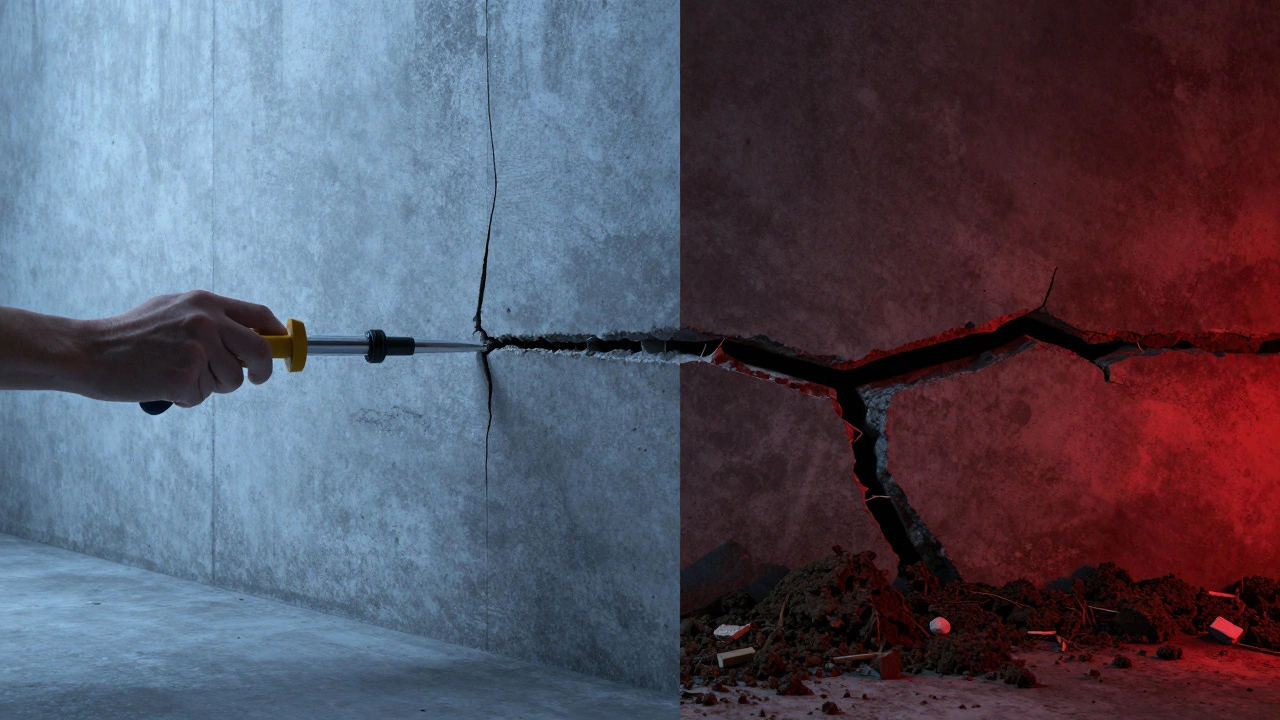
You notice a crack in your basement wall. It’s thin, maybe an eighth of an inch wide. Your first thought isn’t panic; it’s calculation. You grab a tube of hydraulic cement from the garage, figure you can patch it over the weekend, and save yourself thousands of dollars. It sounds logical. It feels empowering. But here is the hard truth: foundation problems are rarely just surface issues. They are symptoms of deeper structural shifts. Attempting a DIY fix on a moving foundation is like putting a bandage on a broken leg while still running. The crack might disappear for a week, but the structure continues to shift, often making the problem worse and far more expensive to fix later.
The question "Can I repair foundation myself?" doesn't have a simple yes or no answer. It depends entirely on what kind of damage you are looking at and why it happened. Some minor cosmetic cracks are perfect weekend projects. Others are red flags that require heavy machinery and engineering expertise. Misdiagnosing the severity is the most common mistake homeowners make, leading to wasted money and potential safety hazards.
Understanding Your Foundation Type
Before you buy any materials, you need to know what you are working with. Not all foundations are created equal, and the repair method changes drastically based on the construction type. Most homes in the United States fall into one of three categories: poured concrete, concrete block (CMU), or stone/masonry. Each has different vulnerabilities.
Poured Concrete is a monolithic slab or wall formed by pouring wet concrete into molds. This is the most common type for modern basements and slabs. It is strong but prone to shrinkage cracks as it cures. These cracks are usually vertical or diagonal and often stabilize within the first year of construction.
Concrete Block (CMU) is walls built from individual hollow blocks stacked and mortared together. Older homes often use this method. The weak points here are not the blocks themselves, but the mortar joints. If the mortar crumbles or the blocks shift, you see stair-step cracking-a distinct pattern that follows the mortar lines.
Stone or Masonry is foundations constructed from irregular natural stones held together with thick mortar. Common in homes built before 1940, these are highly susceptible to water damage and settling because the stones are not uniform. Repairs here are complex and almost always require professional masonry skills.
| Foundation Type | Common Crack Pattern | DIY Difficulty | Typical Lifespan |
|---|---|---|---|
| Poured Concrete | Vertical or Diagonal | Low to Medium | 75+ years |
| Concrete Block (CMU) | Stair-Step (Mortar Lines) | Medium | 50-70 years |
| Stone/Masonry | Irregular, Bulging | High (Not Recommended) | Varies Widely |
When DIY Foundation Repair Is Safe
There are specific scenarios where tackling the job yourself is not only safe but cost-effective. The key indicator is stability. If the crack is static-meaning it hasn’t grown in size or length over the past six months-and there are no signs of water intrusion or door/window sticking, you are likely dealing with cosmetic damage or minor settlement.
For hairline cracks less than 1/16 of an inch wide in poured concrete, epoxy injection kits are widely available at hardware stores. These kits work by forcing low-viscosity epoxy into the crack, bonding the concrete back together and sealing it against moisture. For slightly wider cracks up to 1/4 inch, polyurethane foam injectors are better suited. Polyurethane expands as it cures, filling voids behind the crack and providing some structural reinforcement while remaining flexible enough to handle minor future movement.
If you choose to go this route, preparation is everything. You cannot simply pour sealant into a dirty crack. Here is the process:
- Clean the crack thoroughly using a wire brush and compressed air to remove dust and debris.
- Chase the crack if necessary (widen it slightly) to create a V-shape channel for better adhesion.
- Install injection ports along the crack line according to the kit instructions.
- Seal the surface of the crack with a fast-setting hydraulic cement to prevent leakage during injection.
- Inject the resin from the bottom up, allowing it to fill the void completely.
This approach works well for interior basement walls where the soil pressure is relatively stable. However, do not attempt this on exterior walls without addressing drainage issues first. If water is pushing against the wall, your new seal will fail within weeks.
Red Flags: When to Stop and Call a Professional
Some foundation issues are dangerous to ignore and impossible to fix with consumer-grade tools. If you see any of the following signs, put down the caulk gun and call a licensed structural engineer or foundation repair specialist immediately.
- Horizontal Cracks: In basement walls, horizontal cracks indicate hydrostatic pressure-the weight of the soil and water outside pushing inward. This can lead to wall bowing or collapse. DIY patches will not stop the pressure.
- Vertical Cracks Wider Than 1/4 Inch: While vertical cracks are often less severe, width matters. A gap larger than a quarter suggests significant differential settlement, where one part of your house is sinking faster than another.
- Sticking Doors and Windows: If your doors no longer latch properly or windows bind in their frames, the frame has twisted. This means the foundation has shifted enough to distort the entire structure above it.
- Gaps Between Walls and Ceilings: Visible separation where the ceiling meets the wall indicates major structural movement. This is not a cosmetic issue; it is a sign of failing support beams or footings.
- Slab Heaving or Sinking: If you live in a region with expansive clay soils (like Texas or Arizona), your concrete slab may be lifting due to soil expansion. Fixing this requires mudjacking or slab piers, which involve heavy equipment and precise leveling calculations.
Attempting to repair these issues yourself is risky. You might temporarily hide the symptom, but the underlying force-whether it’s poor drainage, unstable soil, or inadequate footing depth-remains active. Over time, this leads to catastrophic failure, potentially rendering the home unsafe to inhabit.
The Hidden Cost of DIY Mistakes
Homeowners often underestimate the complexity of foundation systems. A foundation is not just a slab; it is an integrated system involving footings, drainage, soil composition, and load-bearing walls. Changing one variable affects the others.
Consider the risk of improper drainage correction. Many DIYers try to fix water-related foundation cracks by installing French drains themselves. If the drain slope is incorrect-even by a fraction of an inch per foot-water will pool instead of draining away. This trapped water increases hydrostatic pressure, worsening the very cracks you tried to fix. Professional installers use laser levels to ensure precise grading, something difficult to replicate without experience.
Then there is the issue of warranties and insurance. Most homeowner’s insurance policies exclude damage caused by gradual settling or lack of maintenance. If you perform a DIY repair that fails and causes further damage, insurers may deny claims citing improper installation. Additionally, many professional foundation repair companies offer lifetime transferable warranties. Doing it yourself voids any future professional warranty options, potentially lowering your home’s resale value.
Let’s look at the numbers. A DIY epoxy injection kit costs around $50-$150. A professional assessment and repair for a moderate crack might cost $800-$1,500. The savings seem obvious. But if that crack was a symptom of a heaving slab requiring helical piers, the professional repair could run $10,000-$30,000. If you miss the diagnosis, you’ve spent $150 and delayed a necessary $20,000 fix, allowing the damage to compound. In that scenario, the DIY approach actually cost you more in the long run.
Essential Tools and Safety Gear for Minor Repairs
If you have determined your issue is minor and suitable for DIY, you still need the right tools. Cutting corners on equipment leads to poor results and injury. Foundation work involves heavy materials, sharp edges, and potentially hazardous chemicals.
At minimum, you should have:
- Safety Glasses and Gloves: Concrete dust and epoxy resins can cause serious eye irritation and skin burns. Nitrile gloves are best for chemical resistance.
- Dust Mask (N95): Chasing cracks creates silica dust, which is harmful when inhaled. A standard cloth mask is insufficient.
- Wire Brush and Compressed Air: Essential for cleaning cracks before injection. A shop vac with a HEPA filter helps contain dust.
- Hydraulic Cement or Epoxy Kit: Choose based on crack width and whether movement is expected. Hydraulic cement sets quickly and resists water pressure; epoxy bonds structurally.
- Caulking Gun or Injection Pump: Ensure the tool matches the cartridge size specified by your repair kit.
Never mix your own concrete for structural repairs unless you have experience with mix ratios. Premixed bags are consistent and safer for amateurs. Also, avoid using standard silicone caulk for foundation cracks. Silicone does not bond to concrete effectively and will peel off under pressure.
Preventing Future Foundation Issues
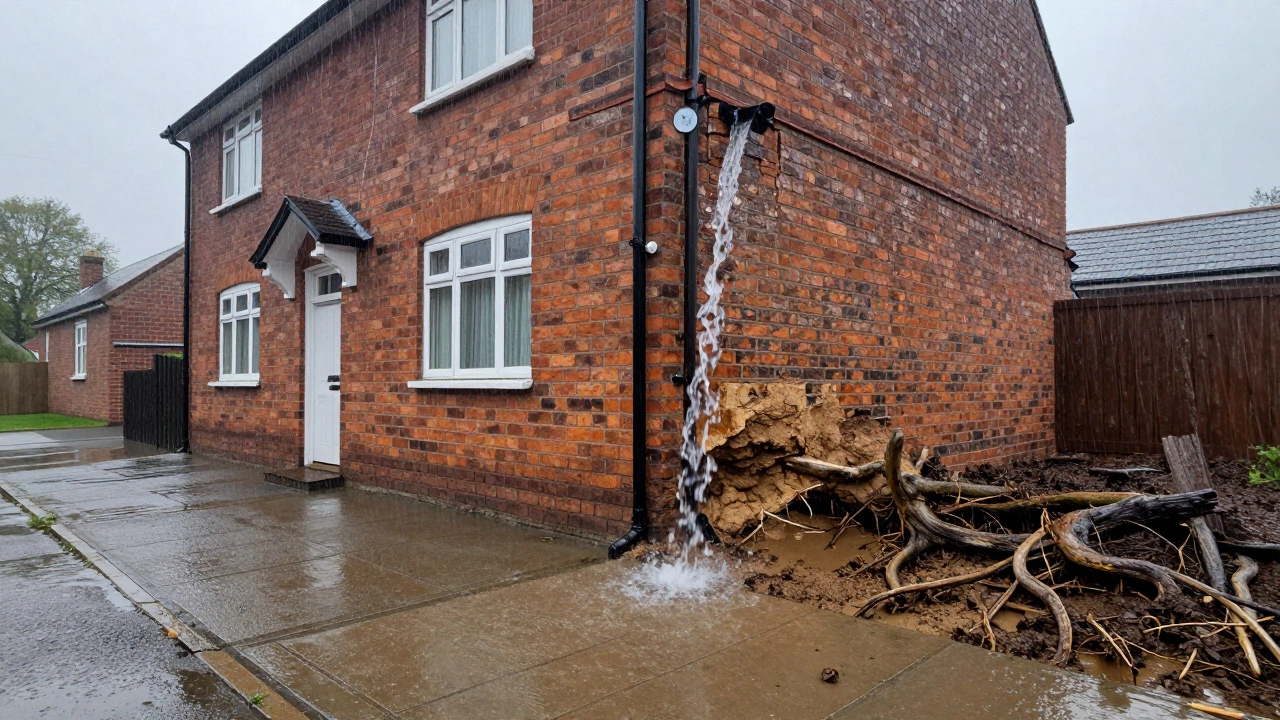
Repairing a crack is only half the battle. If you don’t address the root cause, the problem will return. The number one enemy of foundations is water. Managing moisture around your home is the most effective way to prevent future damage.
Start with your gutters and downspouts. They should extend at least five feet away from your foundation. If they dump water directly next to the house, you are essentially watering the soil beneath your footings, causing it to expand and contract. Install splash blocks or underground drain pipes to redirect water safely.
Check your landscaping grading. The ground should slope away from your house at a rate of 6 inches over the first 10 feet. If rain pools near your foundation, regrade the soil or add a retaining wall. Planting trees too close to the house is another common mistake. Large tree roots absorb massive amounts of water from the soil, causing it to shrink and pull away from the foundation. Keep large trees at least 10-15 feet away from your home.
Finally, maintain consistent soil moisture. In climates with dry spells, consider using soaker hoses around the perimeter during summer months to keep the soil from shrinking excessively. Conversely, in rainy seasons, ensure sump pumps are working correctly and basement floors are sealed against vapor transmission.
How much does it cost to repair a foundation crack yourself?
For minor hairline cracks, DIY repair costs typically range from $50 to $150 for epoxy or polyurethane injection kits. For wider cracks requiring hydraulic cement, expect to spend $20 to $50 per bag. These costs cover materials only and assume you already have basic tools like a wire brush and safety gear.
Is it safe to live in a house with a cracked foundation?
In most cases, yes. Small vertical cracks are common and generally not an immediate safety hazard. However, if you see horizontal cracks, bulging walls, or doors that stick severely, you should evacuate and consult a structural engineer immediately, as these signs indicate potential collapse risk.
Can I use regular caulk to fix foundation cracks?
No. Standard silicone or acrylic caulk is not designed for structural bonding or high-pressure environments. It will not adhere properly to concrete and will fail under hydrostatic pressure. Use specialized hydraulic cement, epoxy, or polyurethane injections designed specifically for masonry and concrete.
How do I know if my foundation crack is getting worse?
Mark the ends of the crack with a pencil and date it. Check monthly for changes in length or width. You can also place a glass crack monitor or a piece of tape across the crack. If the tape breaks or the glass shows new stress lines, the crack is actively moving and requires professional attention.
Does homeowners insurance cover foundation repair?
Generally, no. Most policies exclude damage resulting from settling, shrinkage, or expansion of the soil. Coverage is usually only provided if the damage is caused by a sudden, covered peril like a fire or vehicle impact. Always check your specific policy details and consider separate foundation protection plans if available in your area.
Author
Damon Blackwood
I'm a seasoned consultant in the services industry, focusing primarily on project management and operational efficiency. I have a passion for writing about construction trends, exploring innovative techniques, and the impact of technology on traditional building practices. My work involves collaborating with construction firms to optimize their operations, ensuring they meet the industry's evolving demands. Through my writing, I aim to educate and inspire professionals in the construction field, sharing valuable insights and practical advice to enhance their projects.