Renovation Sequence Checker
Select each phase below in the order you plan to execute them. The tool will alert you if a critical sequencing error occurs.
1. Demolition & Site Prep
Strip house, remove fixtures, address structural repairs.2. Rough-Ins (Systems)
Electrical, plumbing, and HVAC installation inside walls.3. Insulation & Drywall
Seal envelope, hang drywall, tape, mud, and sand.4. Interior Finishes
Painting, flooring, trim, and cabinetry installation.5. Fixtures & Appliances
Lighting, faucets, toilets, and appliance hookups.6. Cleaning & Final Inspection
Deep clean, punch list review, and final sign-off.Status Monitor
Picture this: you’ve just hired a team to rewire your electrical system. They rip open the walls, expose the studs, and lay fresh cable. Two weeks later, your painter arrives with gallons of premium white paint. He looks at the exposed wiring, shrugs, and paints over it. Then the electrician comes back in to install outlets, chipping away the fresh paint as he works. You’re paying twice for the same wall, and your sanity is taking a hit.
This nightmare scenario happens more often than you’d think because homeowners focus on *what* they want changed rather than *when* those changes should happen. Renovation isn’t just a list of tasks; it’s a carefully choreographed dance where every step depends on the one before it. Get the sequence wrong, and you’ll face delays, damage, and budget blowouts. Get it right, and the process flows smoothly from demolition to the final coat of polish.
What is the single most important rule in house renovation?
Work from the outside in and from the top down. Always address structural issues, roofing, and exterior elements before touching interiors. This prevents weather damage and ensures that heavy machinery can access the site without damaging finished surfaces.
The Pre-Construction Phase: Planning Before Picking Hammers
Before you swing a single hammer or sign a contract, you need a map. Many people skip this step, thinking they know what they want. But in construction, "I know what I want" usually leads to change orders, which are the fastest way to drain your savings. The pre-construction phase isn’t about buying furniture; it’s about defining the scope so clearly that there’s no room for guesswork.
Start with your design plans. If you’re knocking down walls or adding rooms, you need architectural drawings. These aren’t just pretty pictures; they are legal documents that dictate load-bearing requirements and safety codes. In many regions, including Wellington, NZ, you cannot pull a building permit without these. Once you have the plans, get three quotes from licensed contractors. Don’t just look at the bottom line. Look at who understands the sequence of work. A good contractor will tell you, "We do the plumbing rough-in before the drywall," not just "It’ll cost $50k."
You also need to secure your financing now. Loans take time to approve. Materials costs fluctuate. If you wait until the demo crew shows up to figure out how you’re paying them, you’re already behind. Lock in your budget, set aside a 10-15% contingency fund for surprises (because there will be surprises), and ensure your insurance covers the construction period.
Phase 1: Demolition and Site Preparation
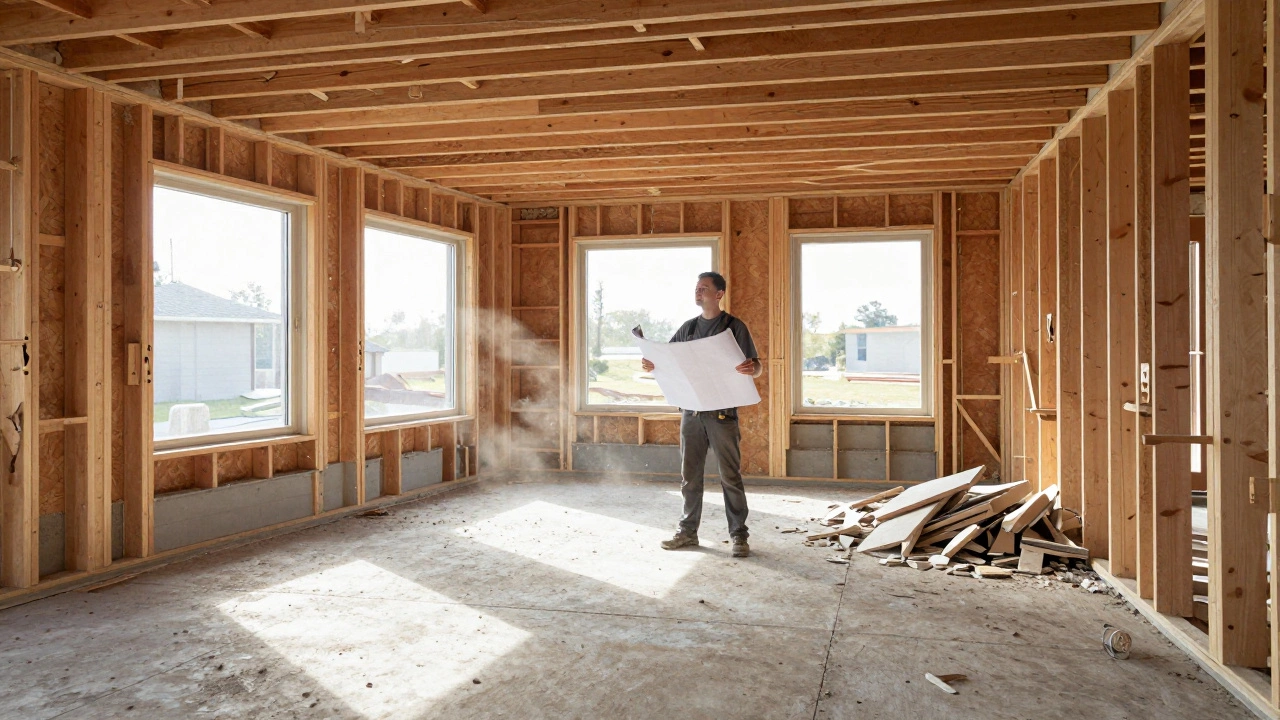
Now the real work begins. The first physical act in almost any major renovation is demolition. This is the messy, loud, dusty part where you strip the house down to its bones. Why start here? Because you need to see what you’re actually working with. That cute kitchen might look fine from the front, but once you tear out the cabinets, you might find rotting subflooring or outdated knob-and-tube wiring that needs immediate attention.
Demolition isn’t just smashing things. It’s strategic removal. You remove fixtures, cabinetry, flooring, and non-load-bearing walls. As you go, you sort materials for recycling or disposal. Proper debris management keeps the site safe and accessible for the next tradespeople. If you leave piles of rubble everywhere, the plumber can’t get his van close enough to unload pipes, and the electrician trips over drywall scraps.
During this phase, you also address any urgent structural repairs. If a beam is compromised or the foundation has shifted, fix it now. Structural integrity is the skeleton of your house. If the skeleton is broken, nothing else matters. This is also when you inspect for mold, asbestos, or lead paint. If you find hazardous materials, they must be abated by specialists before anyone else touches the space. Ignoring this step risks health hazards and massive fines later.
Phase 2: The Rough-Ins (Structural, Electrical, Plumbing, HVAC)
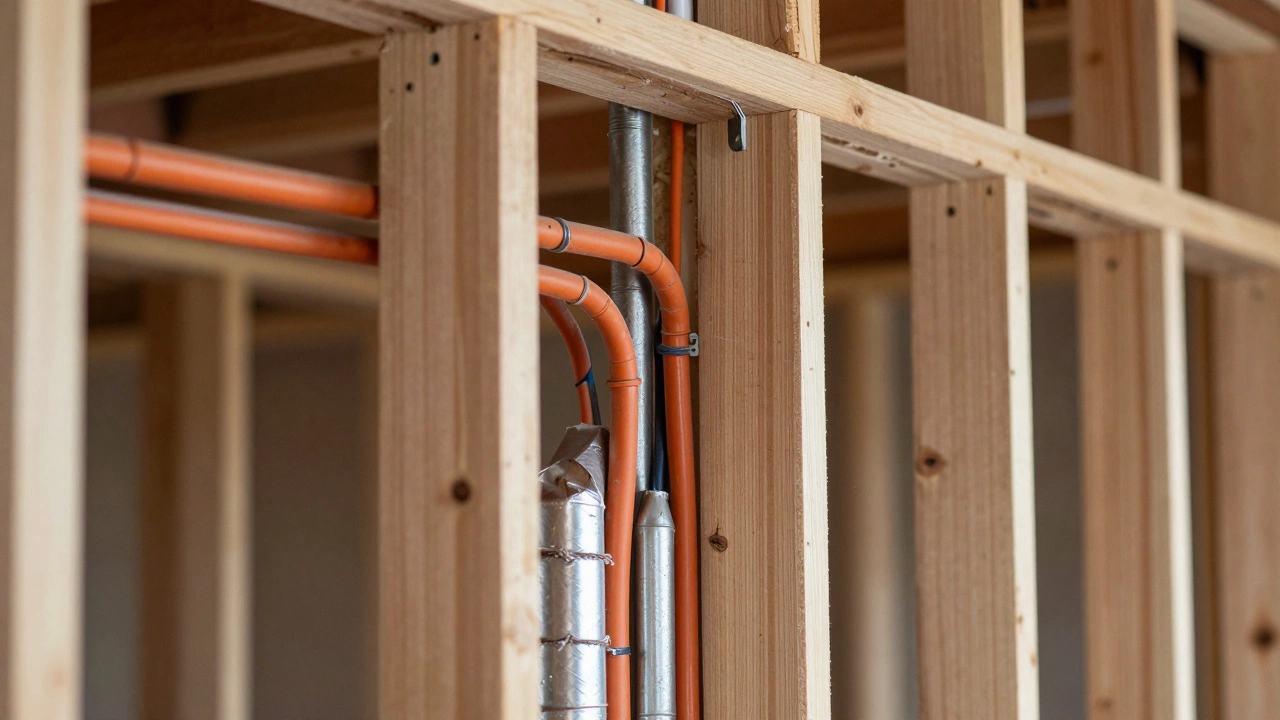
With the house stripped bare, you move to the "rough-in" stage. This is where the invisible systems of your home are installed. Think of this as the nervous system and circulatory system of your house. If these systems fail, your beautiful marble countertops won’t save you.
Electrical rough-in involves running wires through walls, installing junction boxes, and setting up the main panel. You decide where every outlet, switch, and light fixture goes. Make sure you plan for future needs-extra outlets for home offices, dedicated circuits for high-power appliances, and smart home wiring. Once the drywall goes up, moving an outlet means cutting into finished walls.
Plumbing rough-in happens simultaneously. Pipes for water supply and drainage are laid inside walls and under floors. This is the time to relocate sinks, toilets, and showers if you’re changing the layout. Moving a bathroom drain after the floor is poured is a nightmare involving jackhammers and concrete trucks. Do it now while the walls are open.
HVAC (Heating, Ventilation, and Air Conditioning) ducts and lines are also installed during this phase. Proper ventilation is crucial, especially in tight, energy-efficient homes. Poor airflow leads to moisture buildup, which causes mold. Ensure your HVAC professional sizes the system correctly for your new square footage and insulation levels.
After all rough-ins are complete, inspectors come in. They check your wiring, piping, and framing against local building codes. You cannot proceed to closing up the walls until you pass inspection. This step protects you from unsafe conditions and ensures your insurance remains valid.
Phase 3: Insulation and Drywall
Once the rough-ins pass inspection, it’s time to seal the envelope. First comes insulation. Whether you choose fiberglass batts, spray foam, or cellulose, proper insulation regulates temperature and reduces noise. In climates like Wellington’s, where wind and rain are constant companions, thermal breaks and air sealing are vital for comfort and energy bills. Spray foam, for instance, acts as both insulator and air barrier, preventing drafts that sneak through tiny gaps.
Next, the walls get covered. Drywall (also known as plasterboard or gypsum board) is hung, taped, mudded, and sanded smooth. This transforms your skeletal frame into solid, paintable surfaces. Take your time here. Sloppy taping shows up under paint as bumps and ridges. A skilled drywaller makes the surface imperceptible, giving painters a flawless canvas. If you’re doing accent walls or textured finishes, discuss this with your drywaller early-they may need to apply specific techniques before sanding.
Don’t forget the ceilings. If you’re dropping ceiling heights for acoustic panels or recessed lighting, this happens now. Also, install any interior doors and trim frames during this phase, as they fit better before the final floor coverings are laid, which can affect clearance heights.
Phase 4: Interior Finishes (Painting, Flooring, Trim)
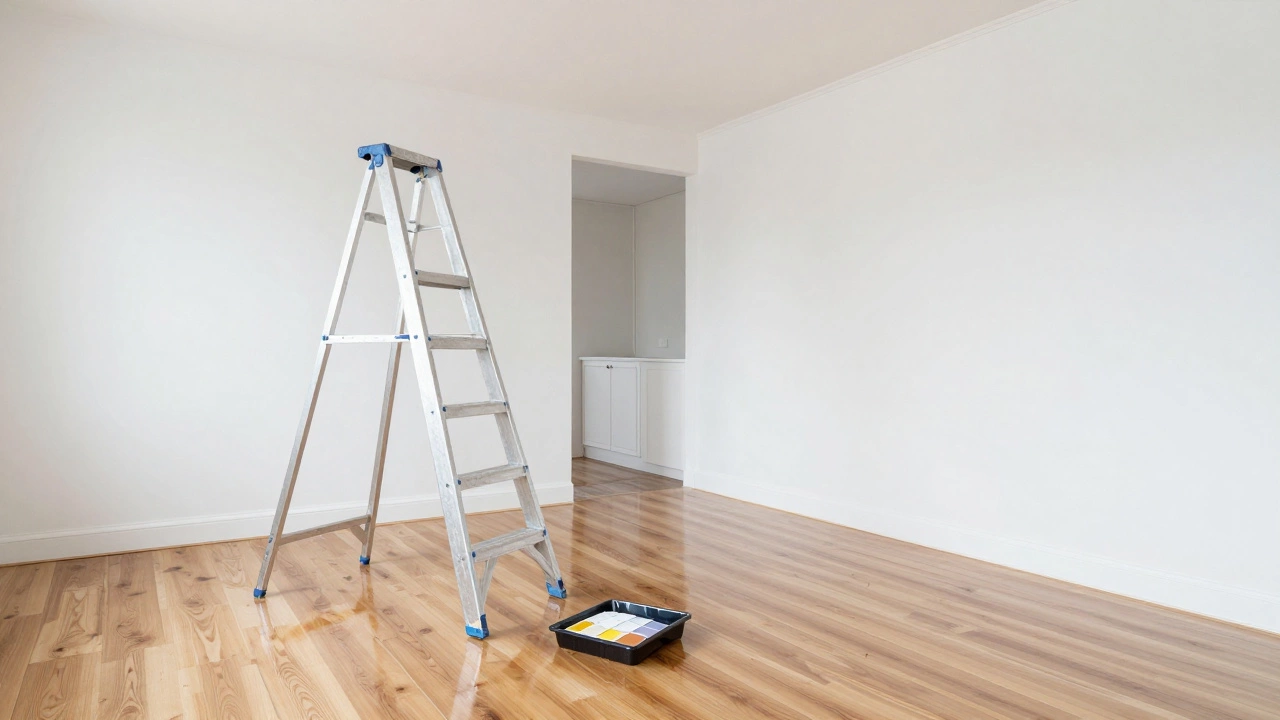
Now the house starts looking like a home again. This phase is all about aesthetics and durability. The general rule? Paint before flooring. Painters splatter. Even with careful masking, droplets land everywhere. If you lay expensive hardwood first, you’ll spend hours cleaning it or risk scratching it. Paint the walls, ceilings, and trim first. Use quality primer to block stains and ensure even color coverage. Two coats of top-quality paint last years longer than cheap stuff applied thickly.
After painting dries completely, install your flooring. Hardwood, laminate, vinyl plank, or tile-each requires different preparation. For tile, you need a perfectly level substrate. For wood, you need acclimatization time to adjust to indoor humidity. Lay flooring last among the hard surfaces because it’s vulnerable to dents and scratches from subsequent work. However, leave baseboards and crown molding installation until after flooring is down, so the trim fits snugly against the floor edge without visible gaps.
Cabinetry and built-ins go in next. Kitchen cabinets, bathroom vanities, and custom shelving units are installed. This is a precise job requiring laser levels and careful measurement. Ensure cabinet doors align perfectly and drawers slide smoothly. Any adjustments needed now are easier than trying to shim a crooked cabinet after the countertop is glued down.
Phase 5: Fixtures, Appliances, and Final Details
With the shell finished, you add the functional pieces. Light fixtures, faucets, toilets, showerheads, and hardware (doorknobs, hinges, towel bars) are installed. This is the "trim-out" phase for electricians and plumbers. They connect the devices to the rough-ins done earlier. Test everything. Flush toilets, run water, flip switches. Check for leaks, flickering lights, or loose connections. Fix issues immediately before caulking and grouting hide them.
Appliances-refrigerators, ovens, dishwashers-are delivered and hooked up. Coordinate delivery dates carefully. You don’t want your fridge sitting in the hallway for three days while you wait for the gas line to be finalized. Measure doorways and hallways beforehand to ensure large items fit through your entry points. Some modern fridges are wider than standard doors allow.
Finally, detail work. Caulk around tubs, sinks, and windows to prevent water intrusion. Grout between tiles. Touch up paint where necessary. Install window treatments like blinds or curtains. These small touches make the biggest difference in perceived quality. A poorly caulked shower leak ruins drywall within months. Good caulk lasts years.
Phase 6: Cleaning and Final Inspection
Construction leaves dust everywhere. Not just on surfaces, but embedded in vents, corners, and appliance coils. Hire professional cleaners experienced in post-construction cleanup. They use HEPA vacuums and specialized tools to remove fine particulate matter that regular household cleaners miss. Dust settles in lungs and electronics. Removing it thoroughly is a health issue, not just cosmetic.
Conduct a final walk-through with your contractor. Create a punch list-a document noting minor defects or unfinished items. Missing outlet covers, scuffed floors, misaligned cabinet doors. Have these fixed before making the final payment. Don’t rush this step. Your leverage ends when you pay the balance. Ensure everything meets your standards and code requirements. Obtain all warranties, manuals, and as-built drawings for future reference.
Common Mistakes to Avoid in Renovation Sequencing
Even seasoned renovators slip up. Here are the most frequent errors that derail projects:
- Buying fixtures too early: You pick out a gorgeous sink online, only to realize it doesn’t fit the vanity you ordered. Wait until rough-ins are complete and dimensions are confirmed before purchasing final fixtures.
- Ignoring permit timelines: Permits can take weeks. Start applications before demolition begins. Working without permits voids insurance and creates legal headaches when selling the home.
- Sequencing flooring before painting: As mentioned, paint drips ruin floors. Paint first, always.
- Skippping inspections: Never close walls before passing electrical and plumbing inspections. Hidden faults become catastrophic failures later.
- Underestimating cleanup time: Budget extra days for thorough cleaning between major phases. Dust migrates. Cleanliness preserves your work.
When Does the Order Change?
Not every renovation follows this exact script. Additions require different sequencing. If you’re extending your house, the roof and exterior walls of the addition must be completed and watertight before interior work begins. This protects the new structure from weather damage. Similarly, historic home restorations may require preserving original features, altering the demolition phase significantly. Always adapt the sequence to your specific project constraints, but never compromise on structural safety or code compliance.
Renovating a house is a marathon, not a sprint. Patience and precision in sequencing save money, reduce stress, and deliver a result you’ll love for decades. Plan meticulously, execute sequentially, and inspect relentlessly. Your future self will thank you.
Should I replace windows before or after siding?
Install windows before siding. This allows the siding contractor to integrate the flashing and trim seamlessly around the new window frames, ensuring a watertight seal. Installing siding first complicates the window installation and increases the risk of water infiltration.
Can I live in my house during a full renovation?
It depends on the scope. Minor updates like kitchen facelifts are manageable. Full gut renovations involve dust, noise, lack of utilities, and safety hazards. Living on-site often slows progress due to coordination challenges. Consider temporary housing for major structural or whole-house remodels to ensure worker efficiency and your own comfort.
How long does the rough-in phase typically take?
For an average-sized home, rough-ins for electrical, plumbing, and HVAC can take 1-3 weeks depending on complexity and crew size. Delays often occur if inspections are scheduled inefficiently or if unexpected structural issues arise during wall opening.
Do I need an architect for a simple kitchen remodel?
Not always, but highly recommended if you’re moving plumbing lines, changing electrical loads, or removing walls. An architect or designer ensures the layout is ergonomic, complies with codes, and maximizes space efficiency. DIY designs often overlook workflow triangles and storage optimization, leading to frustrating daily use.
What is the biggest hidden cost in renovations?
Unforeseen structural or mechanical issues discovered after demolition. Old houses often hide outdated wiring, corroded pipes, or termite damage. Always budget a 10-20% contingency fund specifically for these surprises. Skipping this buffer forces you to cut corners elsewhere or halt the project entirely.
Should I hire one general contractor or manage individual trades myself?
Unless you have extensive construction experience and time to manage schedules, hiring a general contractor is safer. GCs coordinate sequencing, handle permits, and assume liability for trade errors. Managing multiple subcontractors alone risks scheduling conflicts, blame-shifting, and code violations if one trade’s mistake affects another’s work.
How do I protect my existing belongings during renovation?
Remove valuable or fragile items from the work zone entirely. Store them off-site if possible. For items that stay, use plastic sheeting sealed with tape to create barriers. Cover floors with rosin paper and plywood in high-traffic areas. Dust travels far; containment is key to protecting unaffected areas of your home.
Author
Damon Blackwood
I'm a seasoned consultant in the services industry, focusing primarily on project management and operational efficiency. I have a passion for writing about construction trends, exploring innovative techniques, and the impact of technology on traditional building practices. My work involves collaborating with construction firms to optimize their operations, ensuring they meet the industry's evolving demands. Through my writing, I aim to educate and inspire professionals in the construction field, sharing valuable insights and practical advice to enhance their projects.