DIY Bathroom Guide – Quick, Easy Tips for a Successful Remodel
Thinking about giving your bathroom a fresh look without hiring a pro? You can totally do it yourself, and it doesn’t have to be a nightmare. In this guide we’ll walk through the basics – from setting a realistic budget to nailing the tile work – so you can finish the job on time and on money.
Planning Your DIY Bathroom
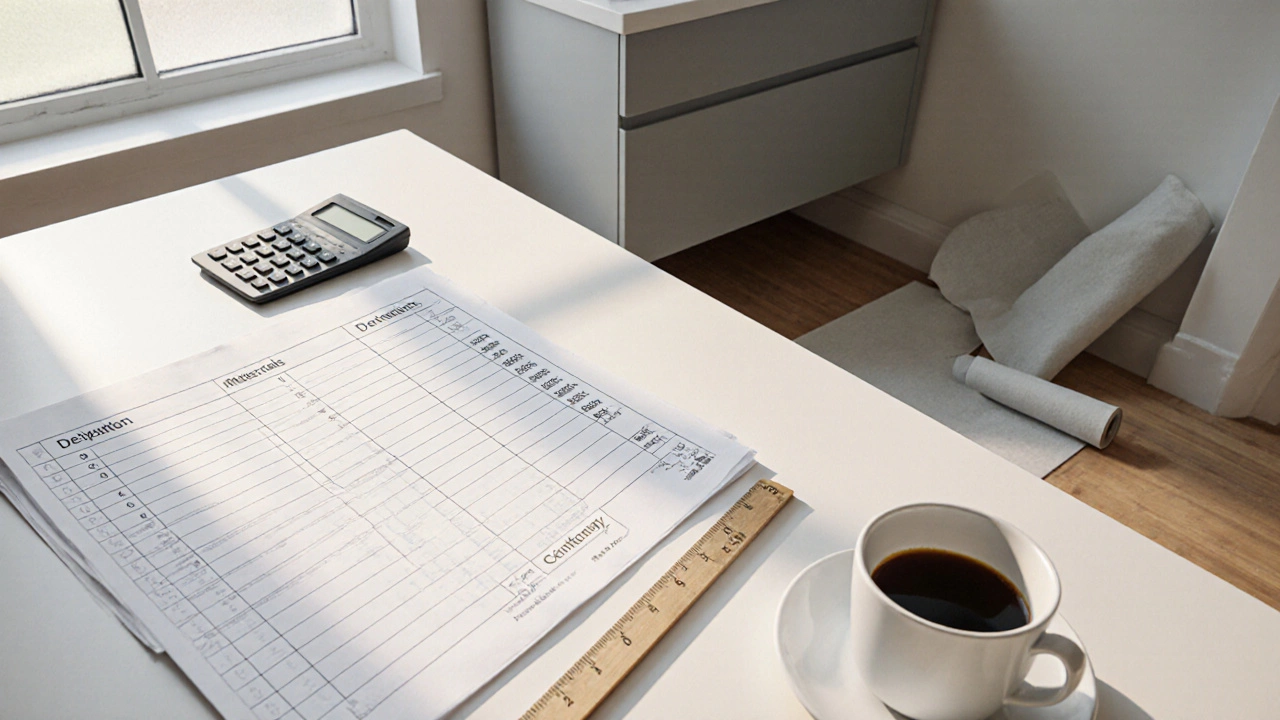
Start with a clear plan. Measure the length, width, and height of the space, then sketch a simple layout on graph paper. Decide where the shower, toilet, and sink will go, and note any plumbing that can’t be moved without a licensed plumber. List the fixtures you want to keep versus replace – a new faucet is cheap, a new bathtub is pricey. Set a budget line for each item; most DIYers keep a 10‑15% cushion for unexpected costs.
Next, gather your tools. A good quality drill, a level, a tape measure, a utility knife, and a notched trowel are must‑haves. If you’re tiling, add a tile cutter or wet saw, grout float, and safety glasses. Having everything on hand before you start saves trips to the hardware store and keeps the momentum going.
Tile Installation Basics
Tile work looks fancy, but the process is straightforward. Begin by prepping the walls or floor – clean, dry, and level the surface. Apply a thin‑set mortar with a notched trowel, spreading only enough to cover a few squares at a time. Press the tiles in firmly, using a slight twist to set them. Keep a ¼‑inch gap between tiles for grout; a tile spacer makes this easy and consistent.
Once the tiles are set, let the mortar cure (usually 24 hours). Mix grout according to the package, then push it into the gaps with a rubber float, holding the tool at a 45‑degree angle. Wipe away excess grout with a damp sponge before it hardens, and let the grout cure for another day. Seal the grout if you’re working in a wet area – it helps prevent stains and mold.
Don’t forget the finishing touches. Install the new fixtures, reconnect the plumbing, and caulk around the edges where water meets the wall. A neat bead of silicone sealant keeps leaks out and gives the bathroom a polished look.
Finally, give everything a good clean, turn the water back on, and step back to admire your work. You’ve saved money, learned new skills, and added value to your home. If anything feels overwhelming, remember you can always pause, ask for advice on forums, or watch a quick YouTube tutorial. DIY is all about learning as you go.
Budget Bathroom Renovation: Cheap DIY Tips
Oct 26, 2025, Posted by Damon Blackwood
Learn practical, low‑cost ways to remodel your bathroom. DIY tips, cheap material swaps, budgeting steps, and a step‑by‑step guide keep costs under NZ$5,000.
MORE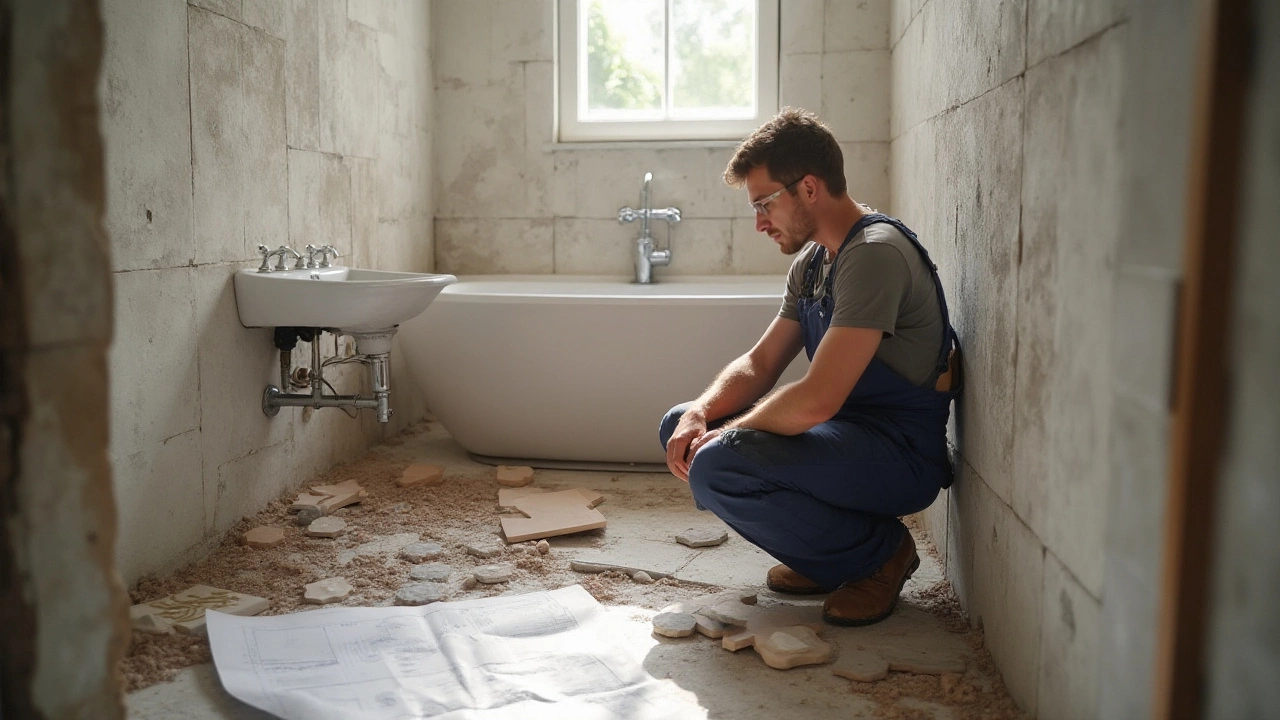
Step-by-Step Bathroom Renovation Guide for a Hassle-Free Makeover
Jan 20, 2025, Posted by Damon Blackwood
Renovating a bathroom can be a daunting task, requiring careful planning and execution. This article provides a step-by-step guide on how to tackle bathroom renovations efficiently. It covers essential steps like planning, demolition, plumbing, electrical work, and finishing touches, ensuring a smooth process. Learn tips and tricks to avoid common pitfalls and make your bathroom transformation a success. Whether you're a DIY enthusiast or hiring professionals, understanding the sequence can save time and resources.
MORE
Affordable Bathroom Renovation: Transform Your Space for $5000
Dec 23, 2024, Posted by Damon Blackwood
Revamping a bathroom doesn't have to break the bank. With a $5000 budget, you can achieve dramatic changes by implementing smart planning and embracing DIY techniques. The focus is on choosing cost-effective materials, optimizing existing layouts, and incorporating a few high-impact upgrades to refresh your space. Working within a tight budget encourages creativity and resourcefulness, all while enhancing comfort and style.
MORESEARCH HERE
Categories
TAGS
- foundation repair
- commercial construction
- construction
- new builds
- home improvement
- building codes
- home renovation
- bathroom renovation
- construction materials
- residential construction
- building materials
- home foundation
- building types
- renovation tips
- foundation cracks
- architectural services
- foundation crack repair
- construction differences
- contractor
- home construction