Insulation Tips for Garage Doors – Boost Energy Savings & Comfort
If your garage feels like a freezer in winter or a sauna in summer, the door is probably the biggest culprit. Adding insulation to the door can cut heat loss, reduce noise, and keep your space more usable year‑round. Below you’ll find simple, practical advice that works for most UK homes.
Why Insulate Your Garage Door?
A typical single‑piece steel door loses heat faster than any wall in the house. That means your heating system works harder, your electricity bill climbs, and you waste energy. Insulation also helps keep the garage dryer, which protects stored tools and prevents rust on metal parts. Finally, a well‑insulated door reduces echo, making the garage feel less cavernous when you’re working on a car or a DIY project.
Best Insulation Options and Installation Tips
There are three popular insulation types for garage doors: foam board, reflective foil, and poly‑urethane spray. Foam board is cheap, easy to cut, and fits into the door’s panels. Reflective foil works best when the door already has a cavity; it reflects radiant heat rather than trapping it. Poly‑urethane spray provides the highest R‑value but requires a professional for a smooth, even coat.
Here’s a quick DIY guide for foam board:
- Measure each door panel and cut the board to fit, leaving a small gap for expansion.
- Secure the board with adhesive spray or a few staples; avoid over‑tightening.
- Seal the edges with weather‑proof tape to stop drafts.
- Re‑attach any decorative trim you removed.
If you opt for spray foam, call a certified installer. They’ll clean the surface, apply the foam in thin layers, and sand it smooth. This method fills every gap, but it’s messy and costs more.
Regardless of the material, always check the door’s warranty before you start. Some manufacturers void the guarantee if you drill or cut into the panels. In those cases, adding a insulated liner on the interior side of the door is a safe alternative.
Don’t forget the weather‑stripping around the door frame. A simple rubber seal can stop up to 30% of heat loss and blocks dust and insects. Replace it once a year to keep performance consistent.
Once the insulation is in place, you’ll notice the garage temperature stabilise within a few days. Run a quick energy test by noting the indoor thermostat setting before and after the upgrade; many homeowners report a 5–10°C difference during extreme weather.
In summary, insulating your garage door is a low‑cost upgrade that pays for itself through lower heating bills, quieter operation, and a more usable space. Choose the material that fits your budget, follow the simple installation steps, and enjoy a comfier garage all year long.
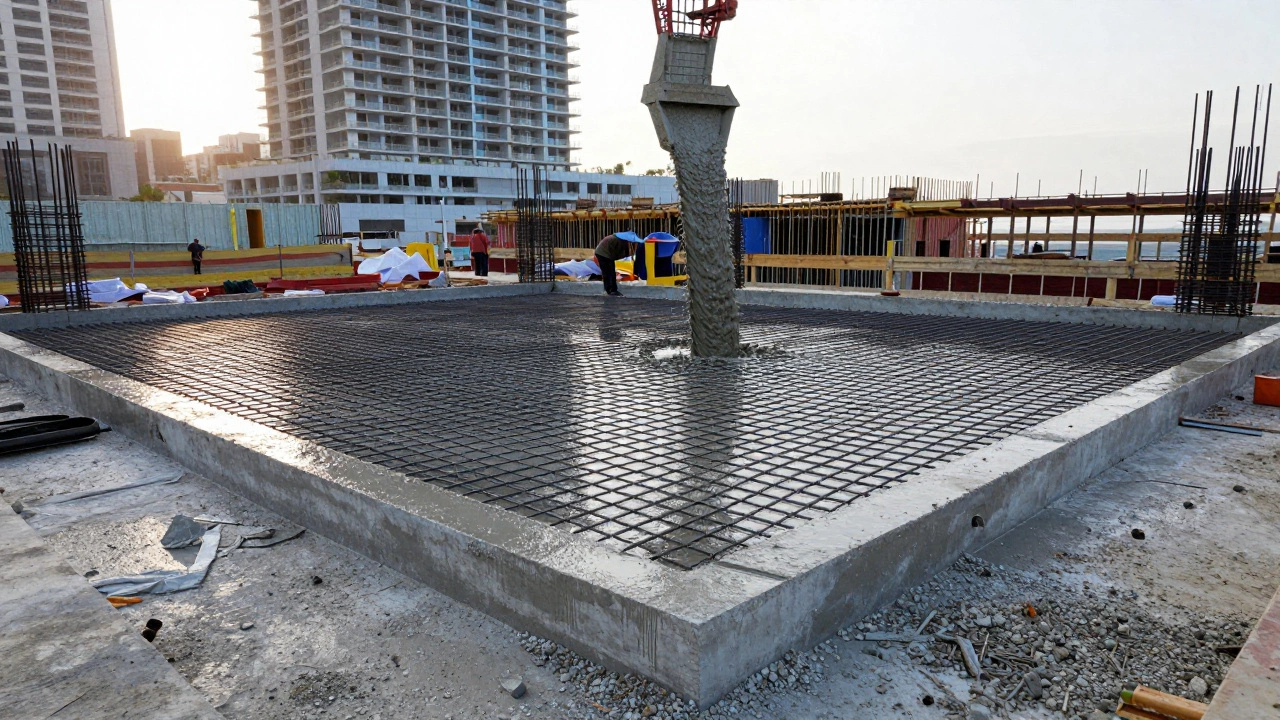
What Is the Construction Material? A Simple Guide to Common Building Materials
Mar 22, 2026, Posted by Damon Blackwood
Construction material isn't one thing-it's concrete, timber, steel, brick, and more, each chosen for strength, cost, or climate. Learn what they do, where they're used, and how to pick the right one for your project.
MORE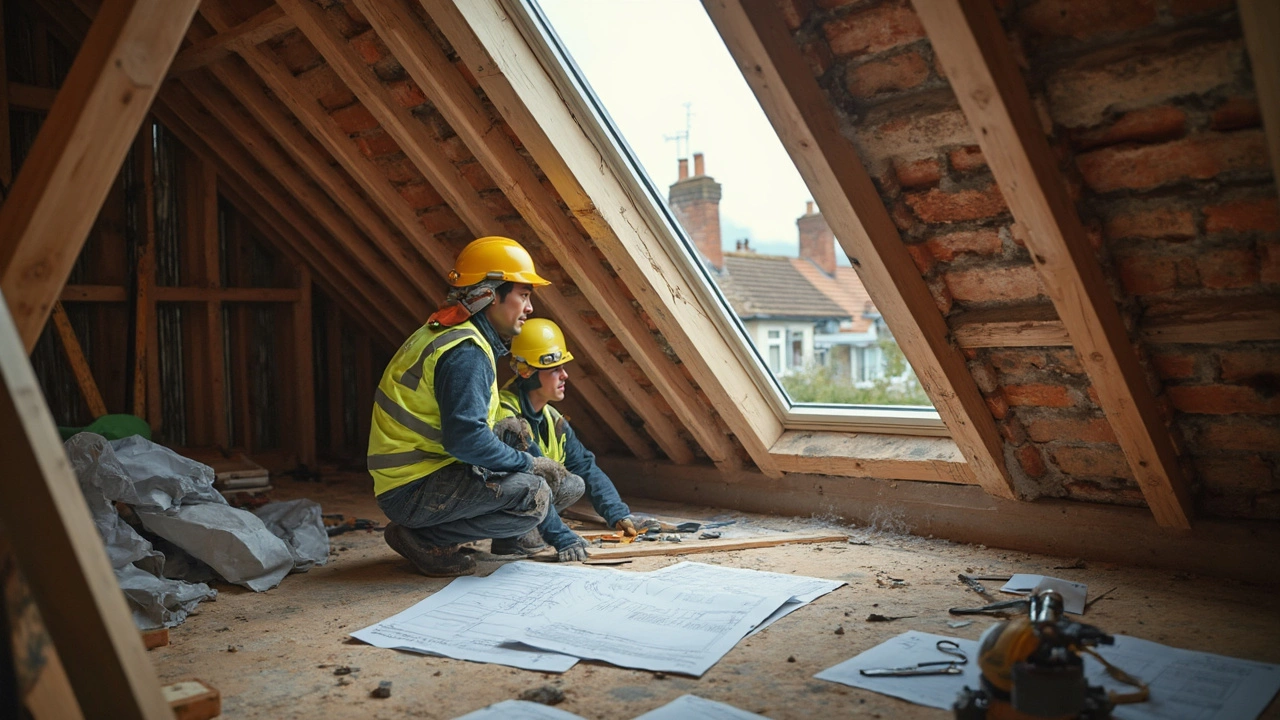
Loft Conversion Costs: What’s the Most Expensive Part?
May 21, 2025, Posted by Damon Blackwood
Wondering why loft conversions seem to eat up your budget so fast? The priciest part is almost always the structural work, especially if your roof needs major changes. This article breaks down where the bulk of your money goes and offers real-life tips to keep expenses in check. We’ll also touch on planning, materials, and hidden surprises that can cause prices to jump. Learn what to expect before jumping into your loft project.
MORESEARCH HERE
Categories
TAGS
- foundation repair
- commercial construction
- construction
- new builds
- home improvement
- home renovation
- bathroom renovation
- construction materials
- residential construction
- building materials
- building codes
- home foundation
- building types
- renovation tips
- foundation cracks
- architectural services
- construction differences
- contractor
- home construction
- structural damage