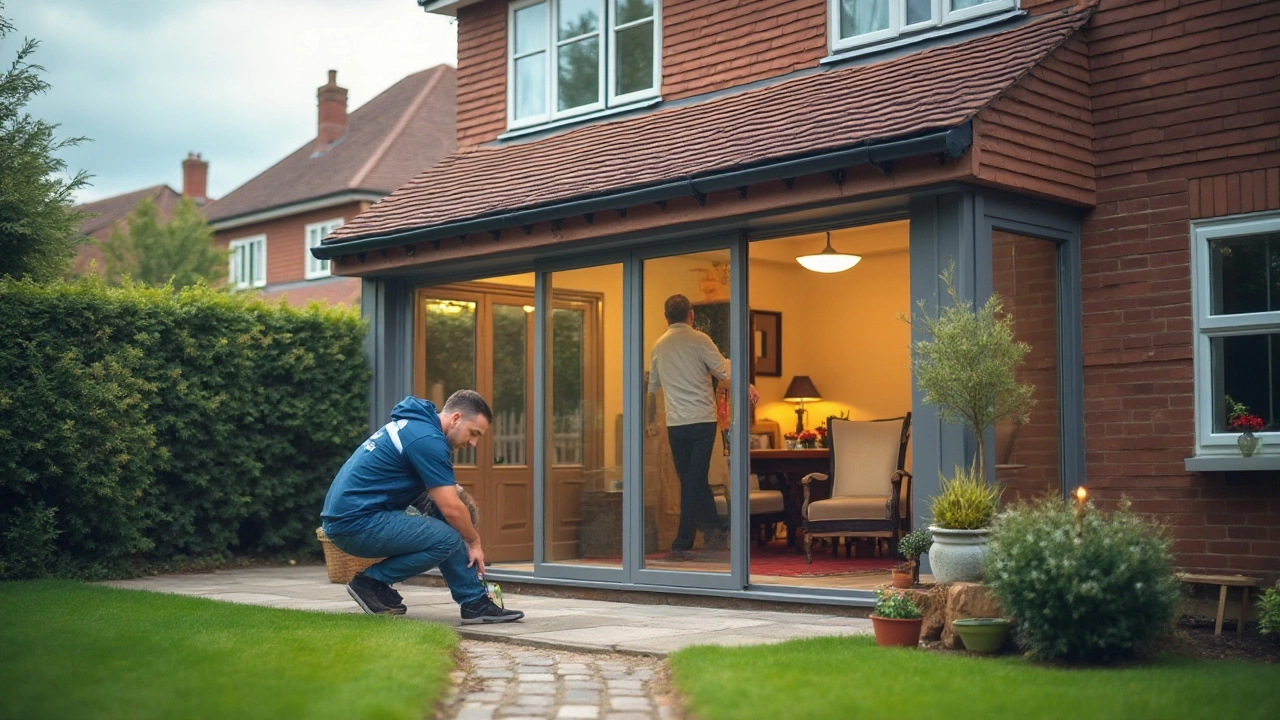
Outside Foundation Fix: Quick Guide to Repairing Your Home’s Foundation
If you’ve noticed cracks or moisture on the outside of your basement wall, you’re probably dealing with a foundation issue. Ignoring it can lead to bigger problems like uneven floors or water damage. The good news is that many outside foundation fixes can be done by a homeowner with the right tools and a bit of patience.
Step 1: Inspect and Identify the Problem
First, walk around your house and look for visible cracks, gaps, or water staining. Use a flashlight and a screwdriver to gently probe any cracks – a hollow sound means the material is compromised, while a solid sound suggests a surface issue. Take photos and note the exact locations; this will help you track progress and explain the problem to a professional if you need one later.
Step 2: Clean the Affected Area
Before you apply any sealant or repair material, the surface must be clean and dry. Remove loose dirt, paint, and debris with a wire brush or a shop‑vac. If there’s mold or mildew, scrub the area with a 1:1 mix of water and bleach, then rinse thoroughly. Let the wall dry completely – a fan or a dehumidifier can speed up the process, especially in damp weather.
Now you’re ready for the actual fix. The method you choose depends on the size of the crack and the amount of water infiltration.
Step 3: Small Cracks – Epoxy or Polyurethane Injection
For cracks narrower than ¼ inch, an epoxy or polyurethane injection works well. Buy a kit made for foundation repair; it usually includes a resin, a hardener, and a caulking gun. Follow the kit instructions: insert the injection ports into the crack, press the resin in, then seal the ports. The material expands to fill the gap and hardens into a water‑tight seal.
Step 4: Larger Gaps – Hydraulic Cement or Mortar
If the crack is wider than ¼ inch, you’ll need something stronger. Hydraulic cement sets quickly and expands as it cures, sealing out water. Mix the cement to a peanut‑butter consistency, press it into the crack with a trowel, and smooth the surface. For very deep gaps, apply a layer of mortar first, let it cure, then finish with hydraulic cement.
Step 5: Protect the Exterior Wall
Once the crack is sealed, add a protective coating to keep moisture away. A breathable waterproof paint or a masonry sealant works well. Apply two coats, allowing each coat to dry according to the manufacturer’s directions. This step not only blocks water but also protects the repair from UV exposure.
Step 6: Improve Drainage Around Your Home
Even a perfect seal can fail if water keeps pooling against the foundation. Check that downspouts direct water at least 5‑10 feet away from the house. Install a French drain or a simple gravel trench if the soil stays soggy. Good grading and regular gutter cleaning are cheap ways to keep the foundation dry.
By following these steps, you can handle most outside foundation fixes without tearing down walls or calling a contractor for every little crack. However, if you encounter large shifts, bulging walls, or continuous water seepage, it’s wise to get a professional assessment. A solid foundation protects your home’s value and your peace of mind, so don’t put off repairs when the signs appear.

Foundation Crack Repairs: Inside vs. Outside Solutions
Dec 10, 2024, Posted by Damon Blackwood
When it comes to repairing foundation cracks, choosing between an inside and an outside fix can be puzzling. Both methods have their own advantages and challenges. The decision often depends on factors like the severity of the crack, accessibility, and the local climate. Understanding each approach can help homeowners make informed choices, ensuring the longevity and stability of their homes.
MORESEARCH HERE
Categories
TAGS
- foundation repair
- commercial construction
- construction
- new builds
- home improvement
- home renovation
- bathroom renovation
- construction materials
- residential construction
- building codes
- home foundation
- building types
- renovation tips
- construction differences
- contractor
- building materials
- foundation cracks
- home construction
- architectural services
- foundation issues