Stud Walls: Simple Build Guide for Homeowners
If you’re fixing up a garage, adding a loft or just need a new partition, stud walls are the go‑to solution. They’re light, fast to erect, and work with almost any finish – drywall, plasterboard, or timber panels. Below you’ll get the basics, the material choices, and a clear step‑by‑step plan you can start on right after lunch.
Choosing the Right Stud Material
Most DIYers start with timber studs because they’re cheap and easy to cut with a hand saw. In the UK, 2×4 (50 mm × 100 mm) pine studs are the standard for interior walls. If you’re building a wall that will hold a heavy garage door or need extra fire resistance, consider metal studs. Steel framing is slimmer, doesn’t swell with moisture, and meets Type 5 building rules for wood‑frame homes when used correctly.
A quick rule of thumb: go timber for low‑cost, quick jobs; pick steel when you need strength, flatness, or extra protection against rot. Remember to check local building codes – some councils require specific fire‑rating studs for walls close to garage doors.
Step‑by‑Step Construction Process
1. Plan and measure. Sketch the wall line on the floor, mark the top and bottom plates, and calculate stud spacing. Standard spacing is 400 mm centre‑to‑centre, but you can tighten it to 300 mm for added rigidity around a garage door opening.
2. Cut the plates. Cut two pieces of timber (or steel) to the exact wall length – these are your bottom and top plates. If you’re attaching to an existing floor, pre‑drill holes for anchors.
3. Lay out stud positions. Measure and mark the stud locations on the top plate, then transfer the marks to the bottom plate. Use a carpenter’s square to keep everything straight.
4. Install the studs. Stand each stud upright, align the marks, and nail or screw it to both plates. For steel, use self‑drilling screws. Double‑check that the studs stay vertical – a level or plumb bob helps.
5. Add horizontal bracing. If the wall is longer than 2.5 m or will bear a garage door load, add a horizontal brace halfway up. This prevents sway and keeps the wall square.
6. Secure the wall. Anchor the bottom plate to the floor and the top plate to the ceiling or joists. Use concrete screws for floor anchoring and timber screws or metal brackets for the ceiling.7. Run services. Before you cover the wall, run any electrical wiring, plumbing, or insulation. Stud walls make it easy to drill through studs or notch them for pipes.
8. Finish up. Apply drywall or plasterboard, screw it to the studs, and finish with joint tape and plaster. If the wall meets a garage door frame, seal the joint with a flexible sealant to stop drafts.
That’s it – a solid stud wall in a single afternoon. The key is measuring twice, cutting once, and keeping the studs straight. Once the wall’s up, you’ll have a sturdy base for any garage door, shelving, or décor you want to add.
Need a quick tip? Keep a few extra studs in the garage. They’re handy for future repairs or for reinforcing a wall if you ever decide to replace a single panel. Happy building!
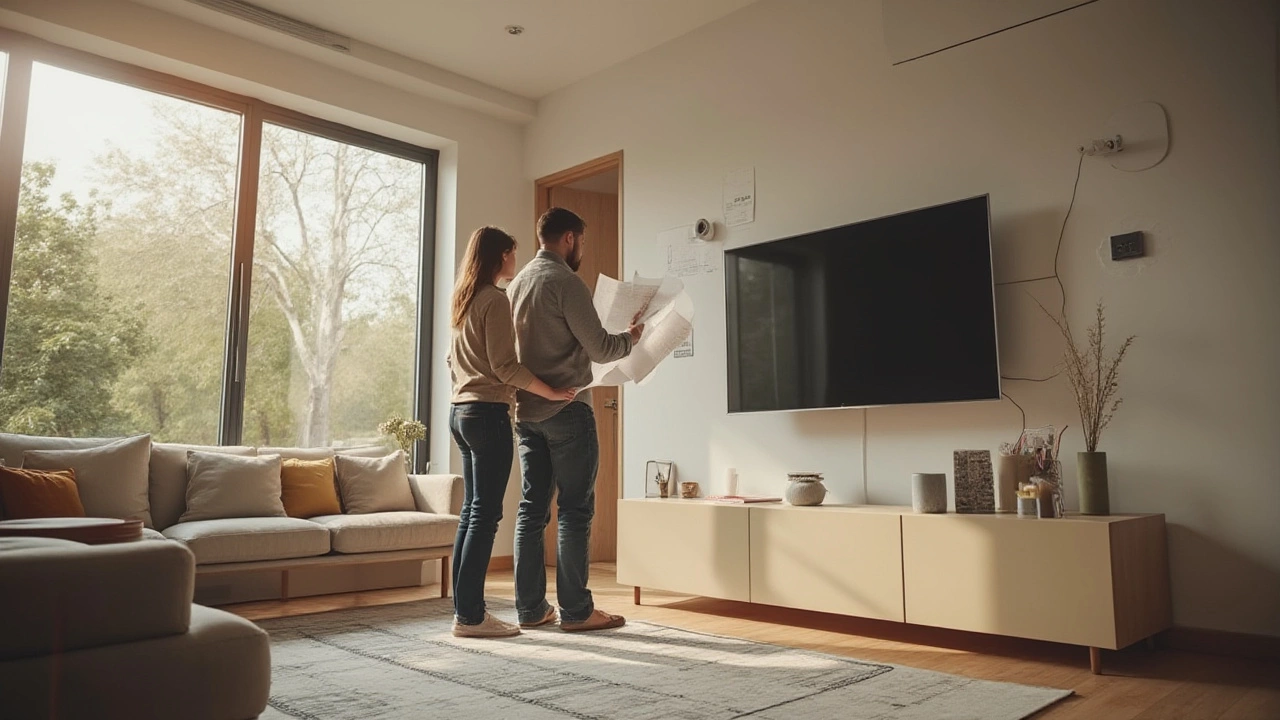
Can I Mount My TV on the Wall in a New Build? Everything Homeowners Should Know
Jul 21, 2025, Posted by Damon Blackwood
Curious about mounting your TV in a new build? Discover the facts, crucial precautions, and expert tips to safely add that sleek TV wall mount in your brand-new home.
MORESEARCH HERE
Categories
TAGS
- foundation repair
- commercial construction
- construction
- new builds
- home improvement
- building codes
- home renovation
- bathroom renovation
- construction materials
- residential construction
- building materials
- home foundation
- building types
- renovation tips
- foundation cracks
- architectural services
- construction differences
- contractor
- home construction
- structural damage