Foundation Repair Method Selector
This tool helps you select the most suitable non-lifting foundation repair method based on your situation. Enter details below to get recommendations.
Comparison Table
| Method | Typical Cost | Installation Time | Best For |
|---|---|---|---|
| Helical Piers | $5,000–$8,000 | 1–2 days per pier | Expansive soils, moderate settlement |
| Concrete Push Piers | $4,500–$7,500 | Half-day per pier | Small to medium gaps, limited access |
| Polyurethane Injection | $2,000–$4,000 | Few hours | Void filling, minor lift |
| Carbon-Fiber Straps | $1,500–$3,000 | 1–3 days | Crack control, tension reinforcement |
| Soil Stabilization | $3,000–$6,000 | 2–4 days | Pre-emptive, long-term control |
| Drainage Improvement | $1,000–$3,500 | 1–2 days | Motisture-related movement |
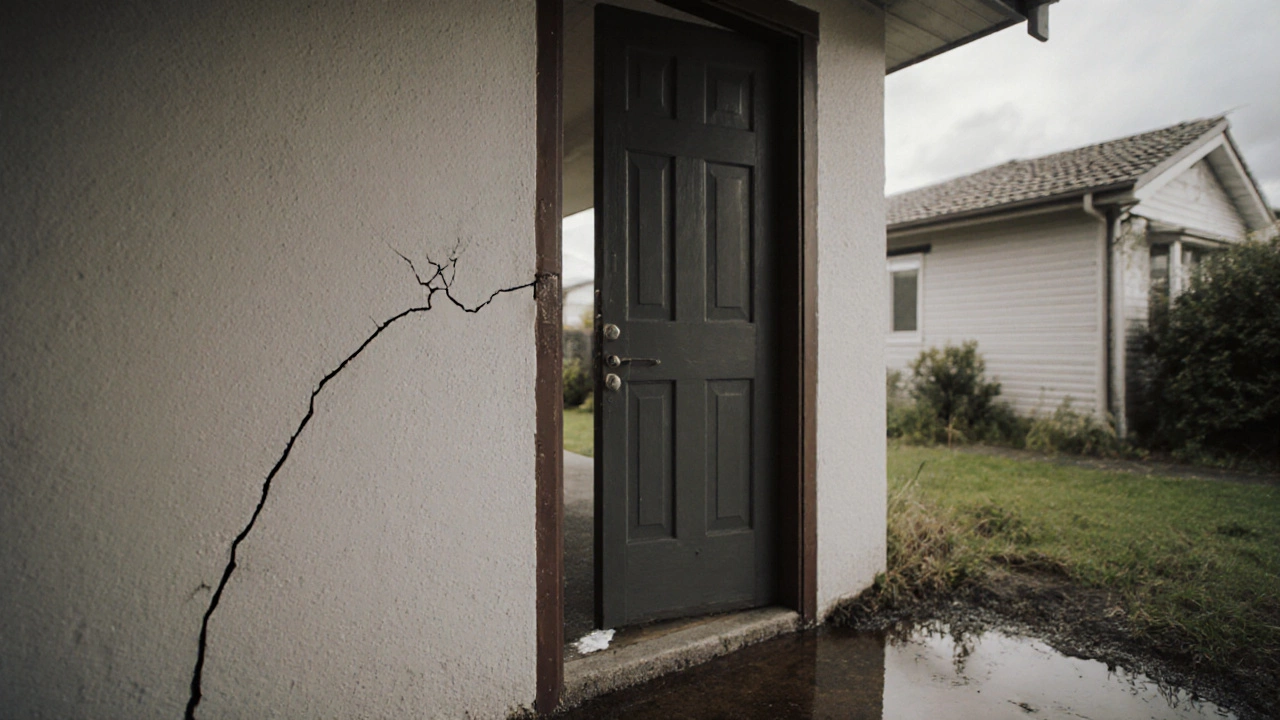
When cracks start showing up in your walls or doors begin to stick, the instinct is to think the whole house needs to be jacked up. You don’t have to lift the entire structure to stop a foundation problem. Below is a practical roadmap that walks you through proven methods you can apply without ever raising the house.
Key Takeaways
- Non‑lifting methods focus on stabilising the soil, reinforcing the concrete, and filling voids.
- Common solutions include helical piers, polyurethane injection, carbon‑fiber straps, and drainage upgrades.
- Choose a method based on soil type, foundation depth, and the size of the settlement.
- Most DIY repairs can be done in a weekend with basic tools; complex cases still need a professional.
- Prevent future movement by managing moisture and improving drainage around the perimeter.
Understanding the Problem
Before you grab any tool, identify why the foundation moved. In Wellington, expansive clay soils and heavy rain are the usual suspects. When the ground swells or shrinks, it pushes against the concrete slab or footing, causing uneven settlement.
Two key factors to check:
- Soil moisture changes - look for signs of water pooling near the foundation.
- Load distribution - heavy equipment or added structures can concentrate stress on a small area.
Once you know the cause, you can match it to the right non‑lifting fix.
Primary Non‑Lifting Techniques
Below are the most effective methods that avoid lifting the house. Each technique works by either reinforcing the existing concrete or improving the surrounding soil.
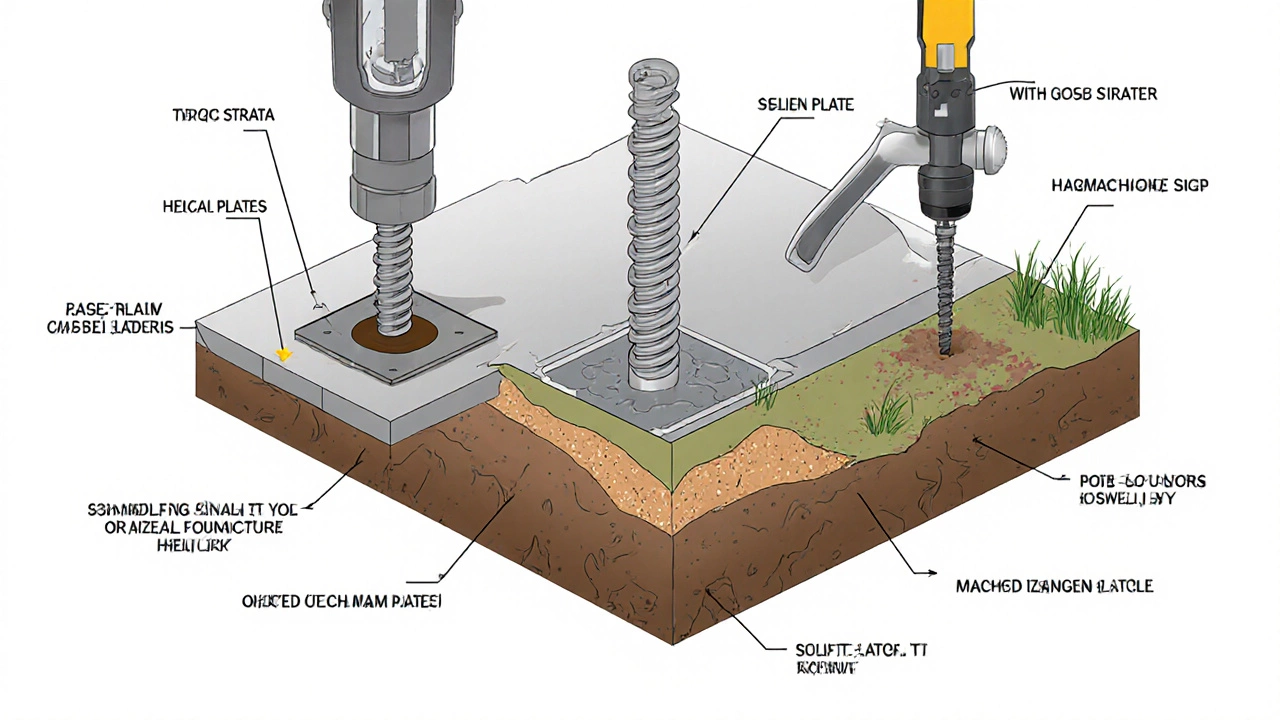
Helical piers are steel shafts with helical plates that screw into the ground until they reach stable soil. They transfer the building load to deeper, non‑expansive layers.
Concrete push piers (also called push piles) are driven from underneath the slab using hydraulic pressure. They push the foundation back up without needing to excavate.
Polyurethane injection, often marketed as foam jacking or slabjacking, fills voids beneath a slab with expanding foam that lifts and stabilises the concrete.
Carbon‑fiber reinforcement involves bonding high‑strength carbon strips to the interior or exterior of walls and footings, creating a tension‑bearing “strap” that limits movement.
Soil stabilization mixes lime, cement, or chemical stabilisers into the existing soil to reduce its shrink‑swell behaviour.
Drainage improvement installs French drains, surface grading, or gutter extensions to keep water away from the foundation.
Each of these approaches can be performed without lifting the house, but the best choice depends on the situation. The following table breaks down the most relevant attributes.
| Method | Typical Cost (NZD) | Installation Time | Depth Reach | Best For |
|---|---|---|---|---|
| Helical piers | 5,000-8,000 | 1-2 days per pier | 1-30m | Expansive soils, moderate settlement |
| Concrete push piers | 4,500-7,500 | Half‑day per pier | 0.5-4m | Small to medium gaps, limited access |
| Polyurethane injection | 2,000-4,000 | Few hours | 0.2-2m | Void filling, minor lift |
| Carbon‑fiber straps | 1,500-3,000 | 1-3 days | N/A (surface) | Crack control, tension reinforcement |
| Soil stabilization | 3,000-6,000 | 2-4 days | Entire site (up to 5m depth) | Pre‑emptive, long‑term control |
| Drainage improvement | 1,000-3,500 | 1-2 days | N/A | Moisture‑related movement |
Step‑by‑Step DIY Guide
Here’s a practical workflow you can follow, whether you’re tackling a single crack or a whole‑house settlement.
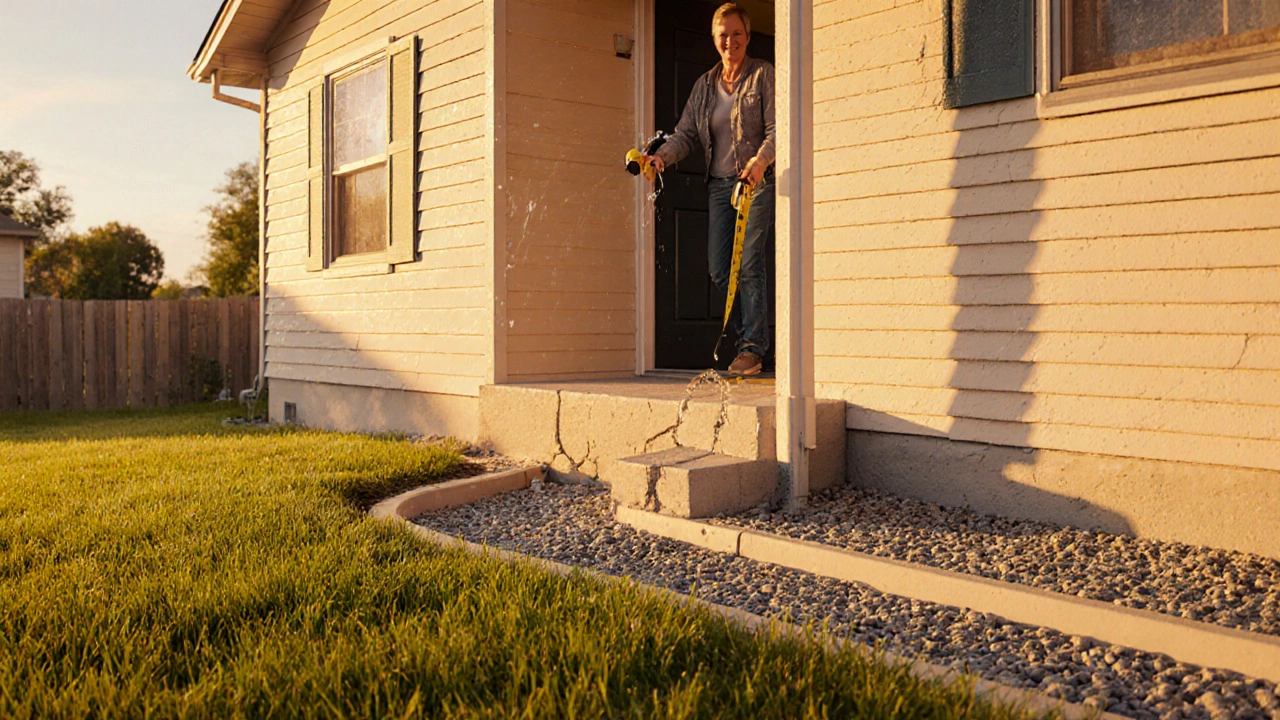
1. Assess and Document
- Measure floor deviation using a long level or laser level. Record high and low spots.
- Take photos of cracks, door gaps, and any visible water pooling.
- Map out where the soil seems most saturated - often near downspouts or low‑lying garden beds.
2. Choose the Right Method
Use the comparison table as a reference. For most Wellington homes on clay, Helical piers give the most reliable long‑term result without heavy equipment. If the settlement is only a few centimeters, Polyurethane injection may be enough.
3. Gather Tools and Materials
- For helical piers: torque‑wrench, drill rig (rentable), steel helix kits.
- For polyurethane injection: two‑part foam kit, injection ports, pressure pump.
- For carbon‑fiber straps: epoxy resin, sand‑paper, clamps, carbon‑fiber sheets.
- Safety gear: gloves, goggles, hearing protection.
4. Prepare the Site
Clear vegetation and debris from the work area. If you’re installing drainage, dig a shallow trench 30‑45cm deep around the perimeter, sloping away from the house.
5. Install the Chosen System
Helical piers: Position the pier location based on your level readings. Use the torque‑wrench to screw the helix into the ground until the resistance indicates stable strata (often a noticeable drop in torque). Attach a bracket to the footing and secure with steel plates.
Polyurethane injection: Drill a series of 2‑inch holes in a grid pattern across the slab. Insert injection ports, pressurise the foam, and watch the level rise. Stop when the floor is level within the tolerance you set (usually ±5mm).
Carbon‑fiber straps: Clean the wall surface, roughen it with sand‑paper, apply epoxy, then press the carbon strip onto the wet glue. Use clamps to hold until the epoxy cures (about 24hours).
6. Verify Results
- Re‑measure the floor with the same level or laser. The high‑low variance should be minimal.
- Close doors and windows to confirm they operate smoothly.
- Inspect the installed hardware for any movement after a rain event.
7. Add Preventive Measures
Even after a successful fix, moisture control is key. Install gutter extensions, maintain a 15‑cm grading slope away from the house, and consider a perimeter French drain if water frequently pools.
When to Call a Professional
If any of these conditions apply, it’s safer to bring in an experienced contractor:
- The settlement exceeds 5cm or is uneven across multiple zones.
- Structural cracks appear in load‑bearing walls.
- You lack access to the underside of the slab (e.g., finished basement).
- Local council regulations require a licensed engineer for deep piers.
Professionals can perform soil testing, design a custom pier layout, and obtain the necessary permits.
Common Pitfalls & How to Avoid Them
- Skipping soil assessment: Installing piers in soft clay without reaching stable layers will lead to recurring settlement.
- Over‑filling with foam: Too much expansion can crack the slab. Inject slowly and monitor lift.
- Ignoring drainage: Moisture will eventually undo any repair. Always couple structural fixes with water management.
- Improper epoxy mixing: Carbon‑fiber straps lose strength if the resin isn’t mixed to the correct ratio.
FAQs
Frequently Asked Questions
Can I fix a sinking foundation myself?
Yes, for mild settlements (up to about 3cm) you can use polyurethane injection or install surface carbon‑fiber straps. The work requires careful measurement and proper safety gear, but it’s doable over a weekend.
How do I know which soil layer is stable?
A simple torque test while screwing a helical pier gives a good indication. When the required torque drops suddenly, you’ve hit a denser, non‑expansive layer. For precise data, a geotechnical engineer can perform a borehole analysis.
Is foam jacking safe for older homes?
Foam is lightweight and expands gently, so it’s safe for most older slabs as long as you limit the lift to a few centimeters. Over‑pressurising can cause cracking, so follow the manufacturer’s pressure guidelines.
How much does a professional helical‑pier job cost in New Zealand?
Typical rates range from NZ$5,000 to $8,000 for a standard‑size house, including site assessment, pier installation, and a warranty. Prices vary with soil condition and access difficulty.
Do I need a building permit for these repairs?
Minor foam injections usually do not require a permit, but installing piers deeper than 1m often does. Check with your local council in Wellington before proceeding.
Final Thoughts
Fixing a shifting foundation doesn’t have to mean ripping up the floor and lifting the whole house. By understanding your soil, choosing the right non‑lifting method, and pairing structural repair with proper drainage, you can restore stability and protect your home for years to come. If the problem feels larger than your tools can handle, a licensed foundation repair specialist will ensure the job meets code and lasts.
Author
Damon Blackwood
I'm a seasoned consultant in the services industry, focusing primarily on project management and operational efficiency. I have a passion for writing about construction trends, exploring innovative techniques, and the impact of technology on traditional building practices. My work involves collaborating with construction firms to optimize their operations, ensuring they meet the industry's evolving demands. Through my writing, I aim to educate and inspire professionals in the construction field, sharing valuable insights and practical advice to enhance their projects.