If you’ve noticed wet spots, musty smells, or white chalky residue on your basement walls, your foundation is leaking from the inside. This isn’t just a cosmetic problem-it’s a sign that water is pushing through the concrete, and if left alone, it can rot wood, weaken structural supports, and invite mold that affects your health. The good news? Most interior foundation leaks can be fixed without tearing up your yard or hiring a full-scale excavation crew. Here’s how to stop it for good.
Understand Why Water Comes Inside
Water doesn’t magically appear on your basement walls. It’s forced in by pressure. When rain or snowmelt soaks the soil around your home, it creates hydrostatic pressure. That pressure pushes water through tiny cracks, gaps around pipes, or even the porous concrete itself. In Wellington, where the soil is clay-heavy and rainfall is frequent, this happens more often than you’d think. Even homes built in the 1980s with basic waterproofing can start leaking after 20+ years as the original sealants break down.Look for these clear signs:
- Stains on walls that get darker after rain
- Puddles or damp patches on the floor
- White, powdery substance (efflorescence) on concrete
- Mold growing on baseboards or behind storage
- Humid air that feels thick, even with the AC on
If you see any of these, the leak isn’t surface-level. Water is moving through the foundation material, not just running down from above.
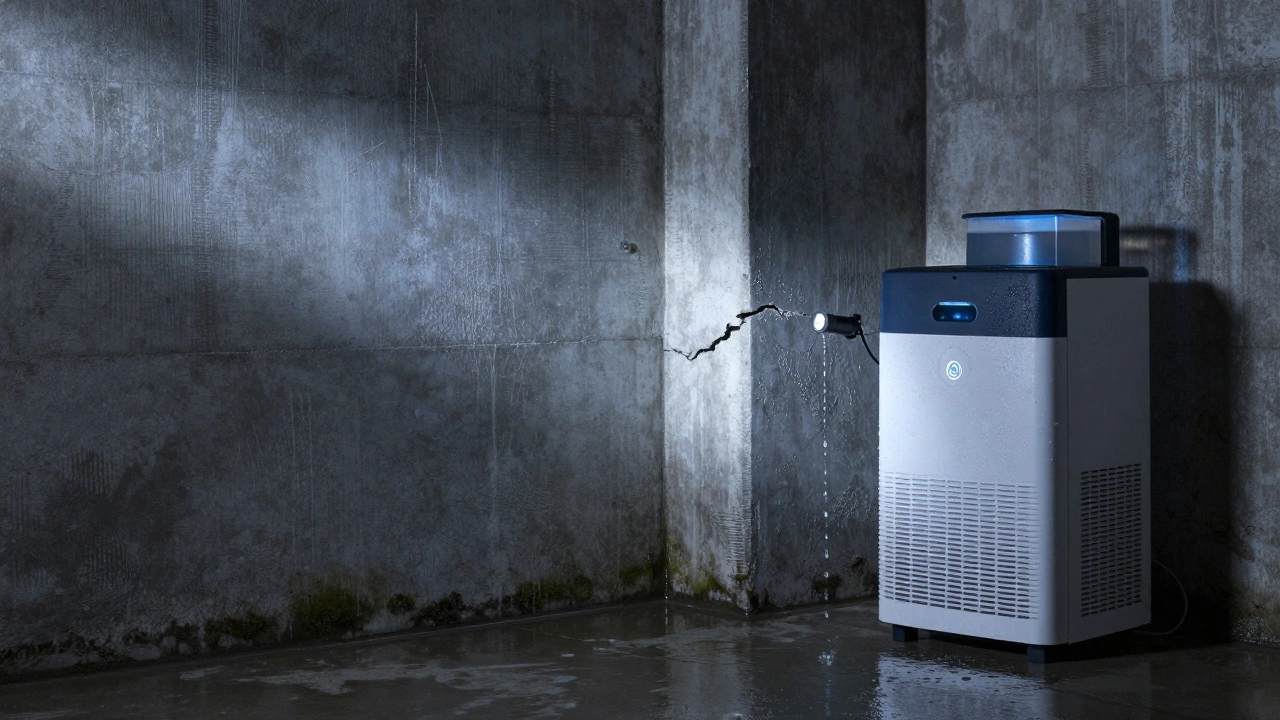
Step 1: Find the Exact Entry Points
You can’t fix what you can’t see. Start by drying out the area completely-use fans and a dehumidifier for 24-48 hours. Then, turn off all lights in the basement and use a flashlight to scan the walls and floor. Wet spots glow under light because water reflects differently than dry concrete.Pay special attention to:
- Where the wall meets the floor (the cove joint)
- Around plumbing penetrations (pipes, drains, electrical conduits)
- Corners and joints between poured concrete sections
- Any hairline cracks, even if they’re less than 1mm wide
Some leaks happen at the cove joint-the spot where the foundation wall meets the floor slab. This is a common failure point because it’s not sealed during construction. Water seeps in here and spreads horizontally under the floor, then rises up the wall. If you see water pooling here, it’s almost always coming from outside, not from a broken pipe.
Step 2: Seal Small Cracks and Gaps
For cracks under 3mm wide, you can use a hydraulic cement or polyurethane injection kit. Hydraulic cement expands as it cures, pushing into the crack and forming a watertight seal. It’s cheap, fast, and works for DIYers.For gaps around pipes or wires, use a flexible, waterproof sealant like Sikaflex-1a or 3M Polyurethane Sealant. These stay elastic over time, so they won’t crack when the foundation shifts slightly. Don’t use regular silicone-it breaks down under constant moisture and won’t hold up in a basement environment.
Pro tip: Clean the area first with a wire brush and a solution of water and vinegar. Remove all dust, dirt, and loose concrete. Sealant won’t stick to a dirty surface.
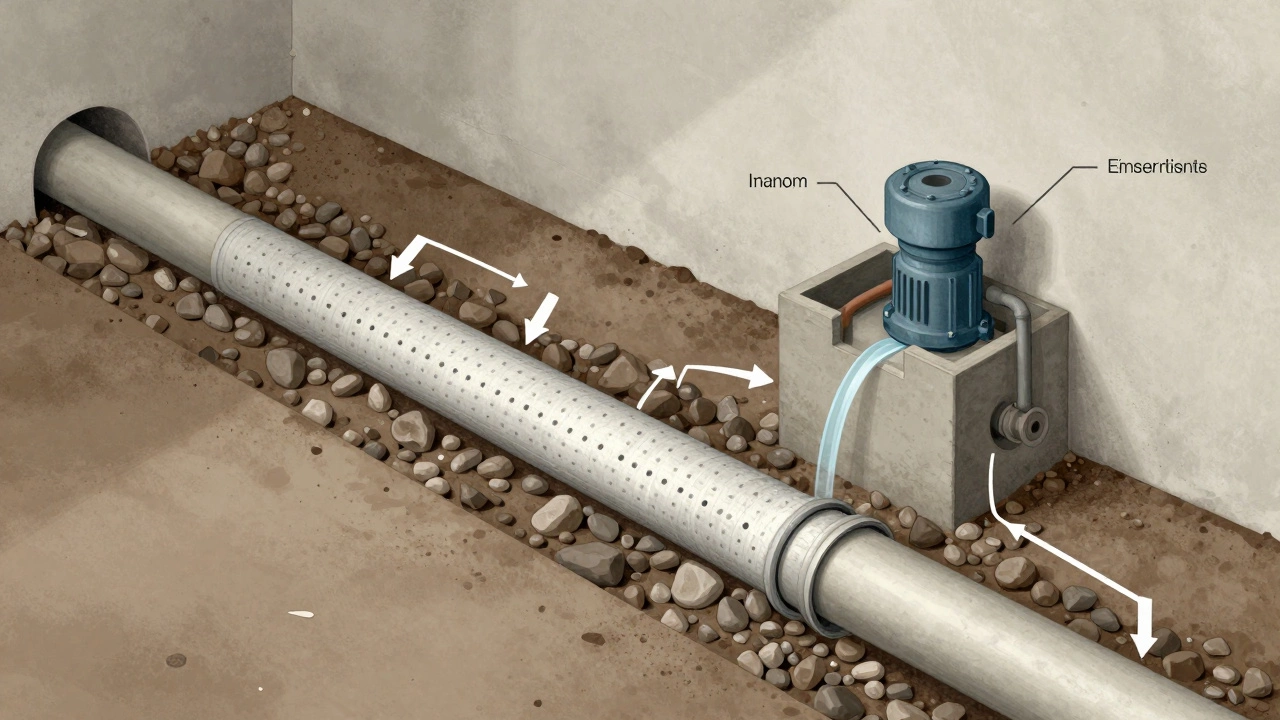
Step 3: Install an Interior Drainage System
If water keeps coming in even after sealing cracks, you need to manage the water at its source-inside the basement. An interior drainage system (also called a French drain or perimeter drain) collects water before it reaches your floor and redirects it to a sump pump.Here’s how it works:
- A trench is dug along the inside edge of the foundation, just below the floor slab.
- Porous drain pipe (perforated PVC) is laid in the trench, wrapped in filter fabric.
- The trench is filled with clean gravel to allow water to flow freely.
- The pipe connects to a sump pit, where a pump kicks in when water rises.
This system doesn’t stop water from entering the soil-it stops it from entering your living space. It’s the most reliable long-term fix for homes with recurring interior leaks. In Wellington, where groundwater levels rise in winter, this is often the only solution that lasts more than a year.
Professional installation costs between $4,000 and $8,000, depending on your basement size. But if you’re handy and your basement has a concrete slab, you can do it yourself with a kit from a supplier like Basement Systems or WaterGuard. Just make sure your sump pump has a battery backup-power outages during storms are common here.
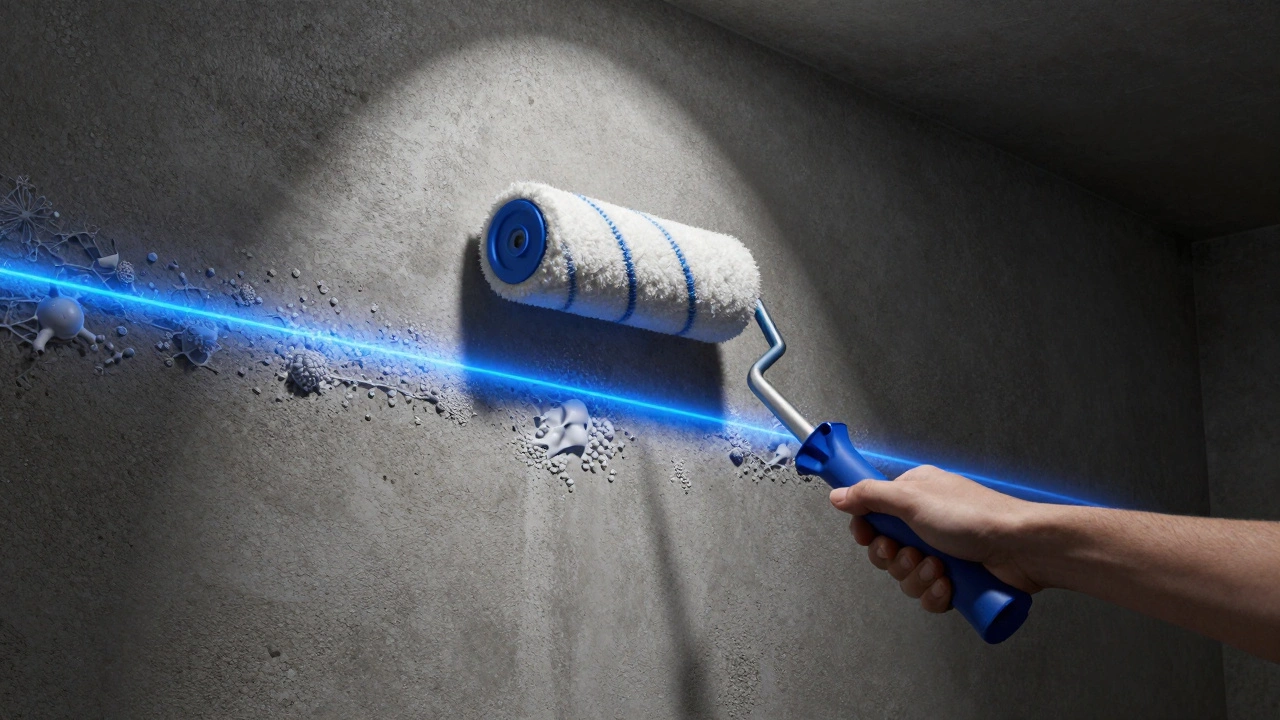
Step 4: Use a Waterproof Coating on the Walls
Once cracks are sealed and drainage is in place, apply a waterproof coating to the interior walls. This adds a final barrier against moisture vapor and minor seepage.Look for products labeled as “below-grade waterproofing” or “cementitious waterproofing.” Popular choices include:
- Drylok Extreme
- RadonSeal Deep-Penetrating Concrete Sealer
- Basement Systems’ WaterGuard Wall Coating
These aren’t paint. They bond chemically with the concrete, filling pores and forming a crystalline barrier that blocks water from passing through. Apply two coats with a roller or brush, following the manufacturer’s drying times. Don’t skip the second coat-it’s where the real protection happens.
Important: Never use regular paint or epoxy coatings meant for garages. They trap moisture behind them, causing the concrete to spall and peel over time.
Step 5: Control Indoor Humidity
Even after fixing the leak, your basement might still feel damp. That’s because moisture from the air condenses on cool walls. A dehumidifier isn’t just helpful-it’s essential.Get a model rated for basements with at least 70-pint capacity. Run it year-round, even in winter. Set the humidity to 50% or lower. If you have a smart thermostat, pair it with a Wi-Fi dehumidifier so you can monitor moisture levels remotely.
Also, avoid storing wet items like boots, towels, or firewood in the basement. These release moisture into the air and make your system work harder.
What Doesn’t Work
A lot of online advice is misleading. Here’s what to avoid:- Exterior waterproofing from the inside-You can’t apply a membrane to the outside of your foundation without digging it up. Interior-only products won’t fix the root cause if pressure is too high.
- Just using a dehumidifier-It hides the problem, but doesn’t stop water from entering. Mold will still grow, and walls will keep deteriorating.
- Injecting epoxy into cracks without drainage-Epoxy seals cracks well, but if water pressure builds behind it, it will find another path and leak elsewhere.
- Ignoring the problem-Every year you wait, the damage gets worse. Wood rot, rusted rebar, and crumbling concrete are expensive to repair later.
When to Call a Pro
You can handle small leaks yourself. But call a foundation specialist if:- You see cracks wider than 5mm
- Walls are bowing inward
- There’s more than one inch of standing water
- Mold covers more than 10 square feet
- You’ve tried sealing and draining, but water keeps coming back
In Wellington, many homes have older foundations built on unstable soil. A professional can run a moisture scan, check for structural shifts, and recommend whether you need underpinning, wall anchors, or exterior drainage. Don’t wait until your wall cracks open-early intervention saves thousands.
Prevention for the Future
Once you’ve fixed the leak, protect your investment:- Keep gutters clean and extend downspouts at least 2 meters from the foundation
- Ensure the ground slopes away from your house by at least 5% for the first 2 meters
- Check your sump pump every 3 months-test it by pouring water into the pit
- Inspect walls and floor every spring and fall for new stains or cracks
Water damage doesn’t happen overnight. It creeps in slowly. But with the right steps, you can stop it before it costs you more than your next vacation.
Can I fix a leaking foundation from the inside without digging outside?
Yes, you can. Most interior leaks are caused by hydrostatic pressure, not structural failure. Sealing cracks, installing an interior drainage system, and applying a waterproof coating will stop water from entering your basement without touching the outside of your foundation. Exterior repairs are only needed if the soil grading is wrong or the footer is damaged.
Why does my basement leak only in winter?
In Wellington, winter brings heavy rain and saturated soil. Snowmelt and prolonged rainfall raise the groundwater level, increasing pressure against your foundation. If your drainage system is clogged or your gutters are overflowing, water has nowhere to go but into your basement. This isn’t seasonal-it’s a sign your system can’t handle the volume.
Is efflorescence a sign of a serious leak?
Yes. Efflorescence is a white, powdery residue made of dissolved minerals left behind when water evaporates from concrete. It means water has been moving through the foundation walls. While it’s not dangerous itself, it’s a red flag that moisture is penetrating your structure. Left unchecked, it can lead to spalling, cracking, and mold.
How long does an interior drainage system last?
A properly installed interior drainage system lasts 25 to 40 years. The key is using high-quality, non-clogging pipe and a reliable sump pump with a battery backup. Systems made with corrugated pipe or cheap pumps fail sooner. Look for systems with lifetime warranties from reputable brands.
Can I use a dehumidifier instead of fixing the leak?
No. A dehumidifier removes moisture from the air, but it doesn’t stop water from entering your foundation. It’s like using a towel to mop up a flooded floor while the tap is still running. You’ll keep fighting the same battle. Fix the source first, then use a dehumidifier to maintain dry air.
Author
Damon Blackwood
I'm a seasoned consultant in the services industry, focusing primarily on project management and operational efficiency. I have a passion for writing about construction trends, exploring innovative techniques, and the impact of technology on traditional building practices. My work involves collaborating with construction firms to optimize their operations, ensuring they meet the industry's evolving demands. Through my writing, I aim to educate and inspire professionals in the construction field, sharing valuable insights and practical advice to enhance their projects.