Kitchen Cabinets: What to Choose, How Much, and How to Install
If you’re planning a kitchen makeover, cabinets are the first thing you’ll notice. They set the look, store the stuff, and can make a small space feel larger. The good news? You don’t need an interior designer to pick the right ones. This guide walks you through the most common styles, realistic budgets, and simple installation steps.
Choosing the Right Cabinet Style
Start by thinking about the overall vibe you want. Modern kitchens often go for flat‑panel (also called slab) doors in matte finishes. They look sleek and are easy to clean. Traditional homes love raised‑panel doors with moulding – they add depth and a bit of elegance. If you’re somewhere in‑between, consider Shaker style: a simple frame with a flat centre panel. Shakers work with almost any colour palette and give a timeless feel.
Next, decide on the material. Solid wood looks great but can be pricey; plywood or MDF (medium‑density fibreboard) are budget‑friendly alternatives that still hold up well. For high‑moisture areas like near the sink, pick cabinets with a water‑resistant core or add a clear sealant.
Colour is another easy way to change the mood. White cabinets brighten a dark room, while dark greys or navy add drama. If you’re feeling bold, two‑tone kitchens—light upper cabinets with dark lower cabinets—are popular and still affordable when you buy pre‑finished units.
Budgeting and Installing Your Cabinets
Budgeting starts with the basics: material, finish, and hardware. A rough rule of thumb is $100‑$300 per linear foot for stock cabinets, $300‑$700 for semi‑custom, and $700+ for fully custom pieces. Add 10‑15% for doors, pulls, and hinges. If you’re on a tight budget, consider ready‑made cabinets from big‑box stores; they often come with everything you need for a quick install.
Before you order, measure twice. Measure the width of each wall, the height from floor to ceiling, and the depth (usually 24‑30 inches). Write down any obstacles—pipes, appliances, or windows—so you can plan cuts or adjustments. Most manufacturers let you order a cut‑list for the back panels; use it to avoid on‑site mistakes.
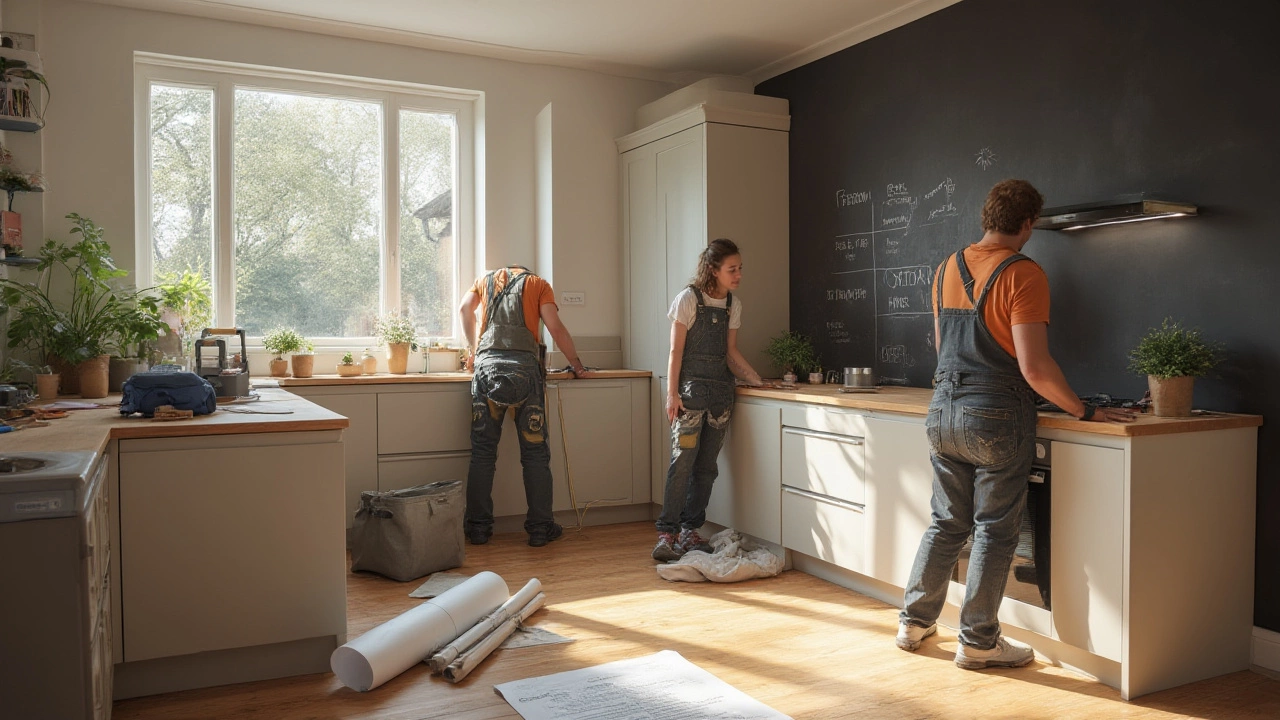
When it’s time to install, start with the base cabinets. Use a level, a stud finder, and a helper to hold the first unit in place. Secure it to the wall studs with 3‑inch screws, then shim the next unit until it’s flush. Keep repeating until the base line is even. Install the wall cabinets next, using a ledger board to hold them while you fasten them to the studs. Double‑check that all doors open without hitting each other and that the cabinet fronts are square.
Finally, add the hardware. A modern pull can be installed with a simple screwdriver, but if you’re using hidden hinges, you’ll need a drill and a hinge template. Test each door a few times before you finish. When everything works, step back and enjoy the new look—you’ve just given your kitchen a fresh personality without a full‑blown remodel.
Remember, good cabinets last years, so focus on quality where it matters: the doors, the hinges, and the finish. With the right style, realistic budget, and a bit of DIY confidence, you can transform your kitchen in a weekend.
Kitchen Installation Guide: What’s Included and What to Expect
Jul 3, 2025, Posted by Damon Blackwood
Wondering what kitchen installation includes? Get the step-by-step lowdown, industry facts, practical tips, and what to expect during your kitchen renovation.
MORESEARCH HERE
Categories
TAGS
- foundation repair
- commercial construction
- construction
- new builds
- home improvement
- home renovation
- bathroom renovation
- construction materials
- residential construction
- building materials
- building codes
- home foundation
- building types
- renovation tips
- foundation cracks
- architectural services
- construction differences
- contractor
- home construction
- structural damage