Tiling Order Guide: Plan Your Tile Layout Like a Pro
Ever stared at a box of tiles and wondered where to start? The secret isn’t just picking a pattern – it’s figuring out the right order to lay them. A solid tiling order saves time, cuts waste, and makes the finished floor look straight and professional.
Why the Order Matters
When you work from the wrong corner, you’ll end up with tiny slivers at the edges or uneven lines that scream “DIY”. Starting from the most visible wall or the centre of the room lets you balance cuts so the smallest pieces hide where they’re least noticeable. It also helps you keep the pattern consistent, especially with diagonal or herringbone layouts.
Step‑by‑Step Tiling Order
1. Measure and Mark. Grab a tape measure, write down the room dimensions, and mark the centre point on the floor. Use a straight line or a laser level to draw two perpendicular lines that cross at the centre. These lines become your guide rails.
2. Dry‑Lay Tiles. Before any adhesive, lay a row of tiles along each guide rail. This shows you how the pattern flows and where you’ll need cuts. If something looks off, adjust the starting point now – it’s far easier than re‑doing the whole floor later.
3. Plan the Cut Tiles. Measure the distance from the last full tile to the wall. Subtract the tile’s grout width (usually 2‑3 mm) to get the exact cut size. Write those numbers down so you don’t have to guess when you’re on the ladder.
4. Apply Adhesive. Mix thin‑set as the manufacturer says and spread it with a notched trowel. Work in small sections – you don’t want the adhesive to dry before the tile is set.
5. Lay Tiles Using the Guide. Start at the centre, press each tile into the adhesive, and give it a slight twist to seat it. Use tile spacers to keep grout lines even. Keep an eye on the pattern; if a tile looks crooked, adjust it right away.
6. Cut Edge Tiles. When you reach the wall, use a tile cutter or wet saw to trim the tiles to the recorded sizes. Test fit each cut piece before pressing it down.
7. Check Level and Alignment. Run a level across a few rows horizontally and vertically. If something is high or low, lift the tile, add or remove a bit of adhesive, and reset it.
8. Let It Set. Once the floor is fully tiled, let the adhesive cure for at least 24 hours before grouting.
9. Grout and Seal. Mix grout, push it into the joints with a rubber float, and wipe off excess. After it cures, seal the grout if you’re using a porous tile.
Following this order keeps your work straight, reduces waste, and gives you a floor you can be proud of. Take a few extra minutes to plan, and you’ll avoid the headache of re‑cutting tiles later.
Ready to start? Grab your tape measure, mark that centre line, and let the tiling order do the heavy lifting for you.
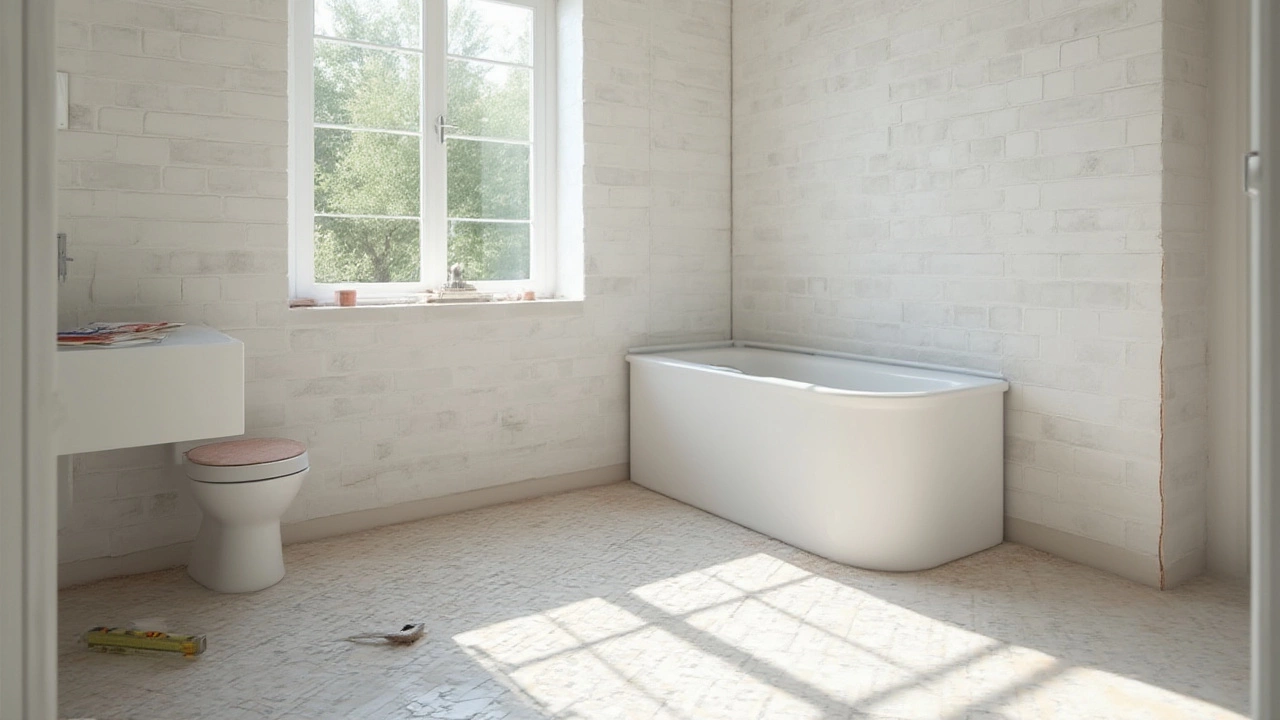
Bathroom Remodel: Should You Tile Walls or Floor First?
Jul 7, 2025, Posted by Damon Blackwood
Wondering whether to do bathroom walls or floor first? Learn tile installation order, what pros say, common pitfalls, and smart tips for a flawless remodel.
MORESEARCH HERE
Categories
TAGS
- foundation repair
- commercial construction
- construction
- new builds
- home improvement
- home renovation
- bathroom renovation
- construction materials
- residential construction
- building materials
- building codes
- home foundation
- building types
- renovation tips
- foundation cracks
- architectural services
- construction differences
- contractor
- home construction
- structural damage