Foundation Repair Cement Selector
Select the type of foundation issue you're dealing with to get the right cement recommendation.
Recommended Cement Type
Select your problem type to see the recommendation.
Critical Preparation Steps
Additional preparation information will appear here based on your selection.
When to Call a Professional
Professional advice will appear here based on your selection.
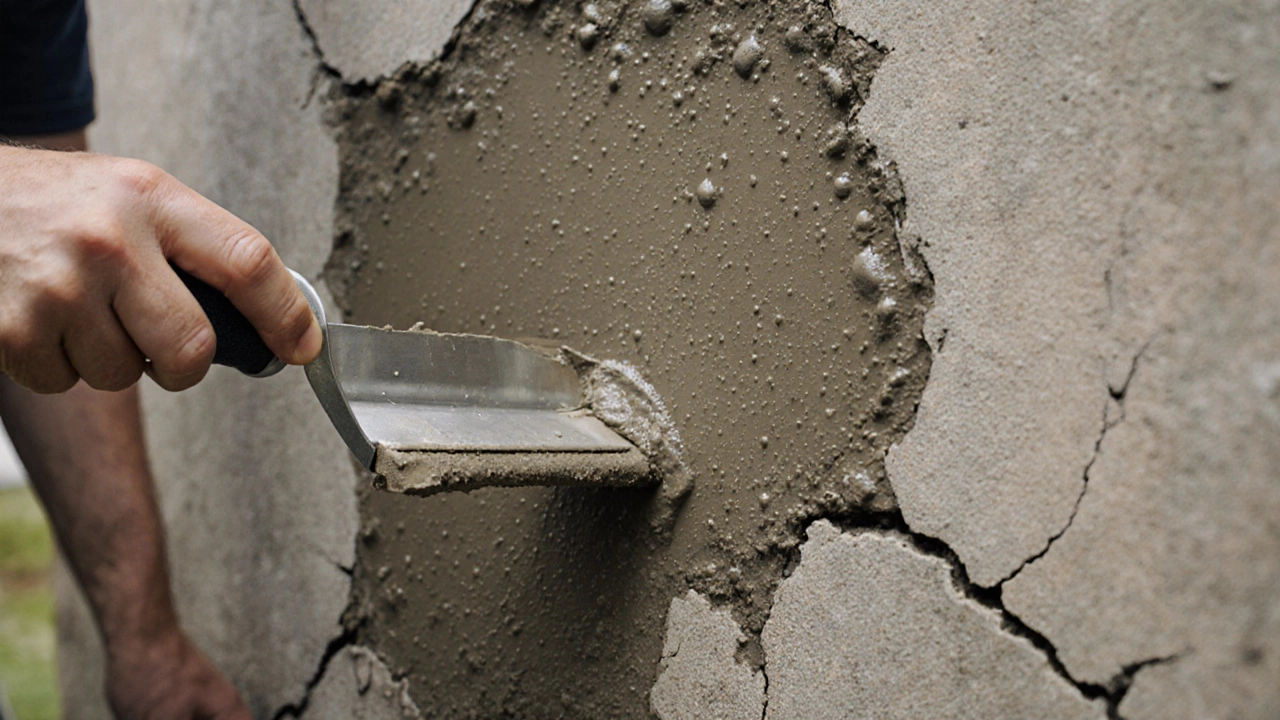
When your foundation starts cracking, sinking, or pulling away from the walls, you don’t have time for guesswork. The wrong cement can make things worse-faster. You need something that bonds like glue, resists water, and lasts longer than the original pour. Not all cement is created equal, especially when you’re fixing something as critical as a home’s foundation.
Why Cement Choice Matters More Than You Think
Most people think any bag of Portland cement will do. It won’t. Foundations move. They flex under soil pressure, expand with moisture, and shrink as they dry. Regular cement cracks under that stress. It doesn’t bond well to old concrete. And when water gets in, it keeps spreading damage.
Real foundation repair isn’t about patching. It’s about restoring structural integrity. That means using materials engineered for high tensile strength, low shrinkage, and strong adhesion. The best options today aren’t your grandfather’s cement mix. They’re modified, polymer-enhanced, and tested under real-world conditions.
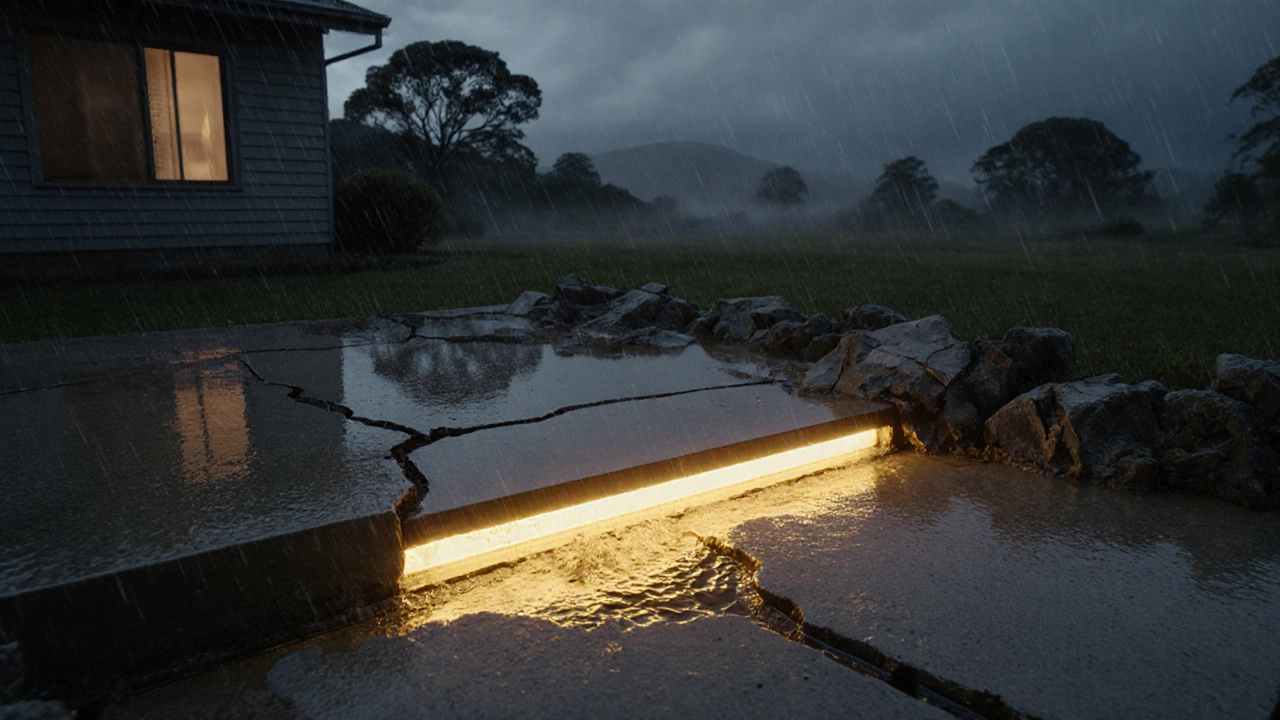
In Wellington, where we get heavy rain, clay soils, and frequent seismic activity, the wrong repair can fail in under two years. I’ve seen it too many times-homeowners save money upfront, only to pay double later.
The Top 4 Cement Types for Foundation Repair
Here’s what actually works in the field, based on 15+ years of repairs across New Zealand’s toughest soils.
1. Polymer-Modified Cement (PMC)
This is the current gold standard. PMC mixes traditional Portland cement with synthetic polymers-usually acrylic or latex-that turn it into a flexible, waterproof bond. It shrinks less than 0.1% during curing, compared to 0.5% for regular cement. That means fewer new cracks.
It sticks to damp surfaces. You don’t need to dry the foundation first. That’s huge in Wellington’s wet climate. It also resists freeze-thaw cycles and chemical exposure from soil salts.
Brands like SikaLatex, Laticrete 254, and Mapei Ultracolor Plus are common in professional repair kits. They’re sold in pre-mixed buckets or as additives you mix with your own cement.
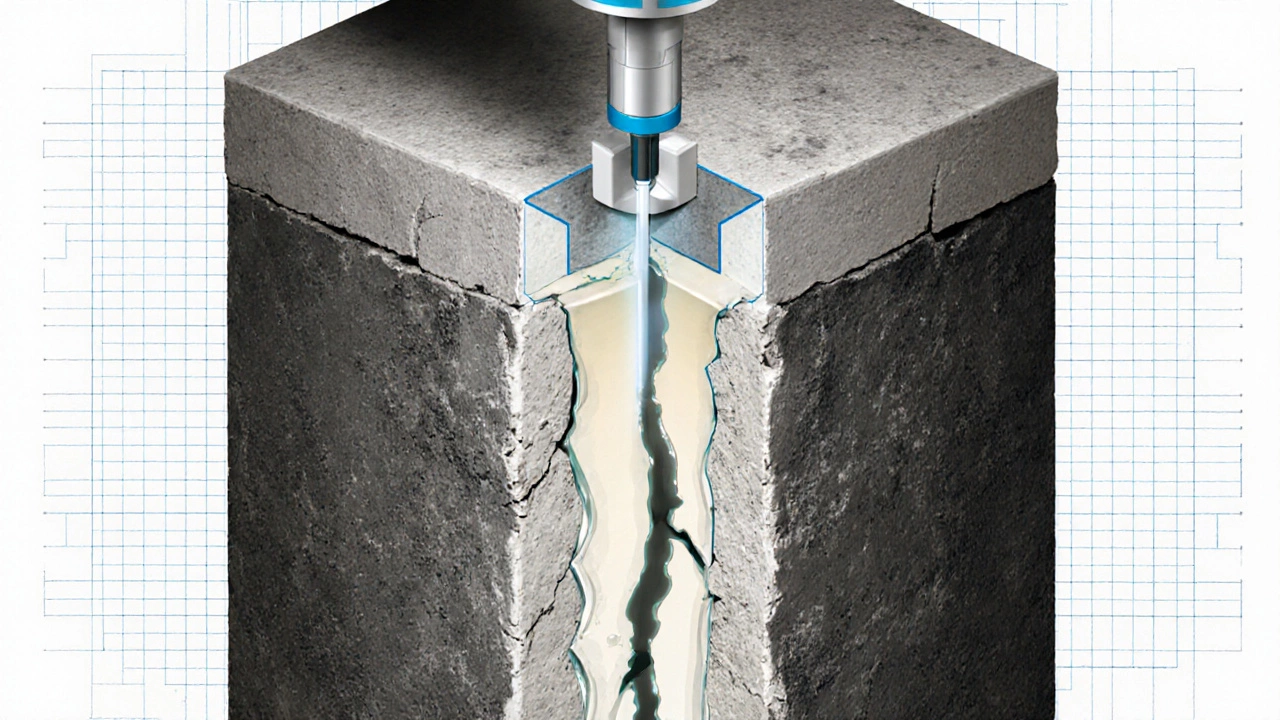
2. Epoxy Injection Cement
For deep, structural cracks-think wider than 2mm and running vertically through a footing-epoxy is the only choice. It’s not a surface patch. It’s injected under pressure into the crack, filling it completely and bonding the two sides back together like steel.
Epoxy has a compressive strength of 10,000+ psi. That’s stronger than most foundation concrete. It doesn’t expand or contract. Once cured, it’s rigid and permanent.
It’s not DIY-friendly. You need a professional-grade injection pump and training. But if you’ve got a crack that’s getting wider every year, this is the fix. Skip the cheap epoxy kits from hardware stores-they’re for small cracks in driveways, not load-bearing foundations.
3. Rapid-Set Hydraulic Cement
Used for emergency leaks or active water seepage. This stuff hardens in 3-5 minutes. It expands slightly as it cures, pushing into cracks and sealing water out. It’s perfect for stopping a sudden drip before it turns into a flood.
But here’s the catch: it’s brittle. It doesn’t flex. If the foundation keeps moving, the patch will crack again. That’s why it’s only for temporary fixes or as a stopgap before a long-term repair with PMC or epoxy.
Quickrete Hydraulic Water-Stop Cement is the most common brand. Use it to shut off water, then follow up with a polymer-modified repair within 30 days.
4. Microcement (for thin repairs and surfaces)
Not for structural cracks. But if you’re repairing a crumbling footer edge, a spalled corner, or a surface that’s flaking, microcement works. It’s a fine-grained, high-strength cement with polymer additives. Applied in layers as thin as 2mm, it bonds tightly to old concrete.
It’s used in commercial basements and heritage homes where you can’t add bulk. It’s also mold-resistant and can be tinted to match existing concrete.
Brands like Topciment and Ardex Microcement are common in New Zealand. You’ll need a trowel and patience-it’s labor-intensive but gives a flawless finish.
What to Avoid
Some products look like they’d work. They don’t.
- Regular Portland cement alone - shrinks, cracks, doesn’t bond well. Avoid for any repair under 2 inches thick.
- Standard concrete mix - too coarse. Won’t flow into hairline cracks. Use only for pouring new footings, not repairing existing ones.
- DIY cement + PVA glue - a myth. PVA isn’t waterproof and breaks down in damp soil. It’s a temporary fix that fails fast.
- Expanding foam - it’s for insulation, not structural repair. It degrades under UV and pressure. Don’t even consider it.
How to Choose Based on Your Problem
Not every foundation issue needs the same fix. Here’s how to match the cement to your damage.
| Problem Type | Best Cement | Why It Works |
|---|---|---|
| Hairline cracks (under 1mm) | Polymer-Modified Cement | Flexible, bonds to damp surfaces, prevents water ingress |
| Vertical structural cracks (1-5mm) | Epoxy Injection | Strength exceeds concrete, seals crack internally, stops movement |
| Active water leaks | Hydraulic Cement | Fast-setting, expands to seal water paths |
| Surface spalling or crumbling edges | Microcement | Thin application, matches texture, durable finish |
| Large gaps or missing sections | PMC + rebar anchor | Needs reinforcement. Cement alone won’t hold load |
If you’re unsure what type of crack you have, take a photo and measure it with a ruler. A crack wider than your fingernail needs professional evaluation. Don’t try to fix it yourself with a bag of cement from the hardware store.
Preparation Is Half the Battle
No cement works if the surface isn’t ready. Here’s what you must do before applying anything:
- Remove all loose concrete with a chisel or grinder. Dust won’t bond.
- Clean the area with a wire brush and water. Let it dry for 24 hours-unless you’re using PMC, which works on damp surfaces.
- Etch the surface with muriatic acid (diluted 1:5) if the concrete is glossy. Rinse thoroughly.
- Use a bonding agent (like SikaBond or Laticrete 77) on smooth surfaces. It’s not optional.
- Wet the area lightly before pouring PMC or microcement. It helps curing.
Skipping prep is why 70% of DIY foundation repairs fail within a year.
Real-World Example: Wellington Home, 2024
A house in Miramar had a 4mm vertical crack running from the footing up to the first-floor slab. Water seeped in during heavy rain. The homeowner tried hydraulic cement-it sealed the leak for three weeks, then cracked again.
We used epoxy injection: drilled holes every 15cm along the crack, installed injection ports, and pumped in structural-grade epoxy. Then we coated the surface with polymer-modified cement for weather protection.
Two years later, no new cracks. No leaks. The foundation is stable. Cost: $1,800. Replacing the footing would’ve cost $12,000.
Where to Buy and What to Look For
You won’t find the best repair cements at Bunnings. Head to a specialized construction supplier:
- Truscon (Auckland, Wellington, Christchurch)
- Concrete Solutions NZ
- Wacker Neuson Supply Centres
Ask for:
- “Polymer-modified repair mortar”
- “Structural epoxy injection system”
- “Hydraulic water-stop cement”
Check the product datasheet. Look for:
- Compressive strength over 50 MPa
- Shrinkage under 0.15%
- Adhesion to concrete over 1.5 MPa
- Water resistance rating (e.g., ASTM C1577 compliant)
If the label just says “concrete mix” or “fast-setting cement,” walk away.
When to Call a Pro
You can handle small cracks with PMC or microcement. But if you see any of these, stop and call a foundation specialist:
- Cracks wider than 5mm
- Stair-step cracks in brickwork
- Doors or windows sticking suddenly
- Uneven floors or walls pulling away
- Water pooling in the basement after rain
These aren’t cement problems. They’re soil, drainage, or structural issues. Fixing the cement without addressing the root cause is like putting a bandage on a broken leg.
Foundation repair isn’t a weekend project. It’s an investment in your home’s safety. Use the right material, prepare properly, and know when to call in help.
Can I use regular concrete to repair my foundation?
No. Regular concrete is too coarse and shrinks too much. It won’t bond well to existing foundation concrete, and it cracks easily under movement. Use polymer-modified cement or epoxy instead-they’re designed for repair, not new pours.
Is epoxy injection worth the cost?
Yes, if you have structural cracks wider than 1mm. Epoxy restores the full strength of the concrete. It’s more expensive than surface patches, but it lasts decades. For cracks that are growing, it’s the only permanent fix.
How long does foundation repair cement last?
Properly applied polymer-modified cement lasts 20-30 years. Epoxy injections last the life of the structure. Hydraulic cement lasts 1-3 years and should only be used as a temporary fix. Always follow manufacturer guidelines and prep the surface correctly.
Can I repair my foundation in the rain?
You can apply polymer-modified cement in damp conditions-it’s designed for that. But avoid working in heavy rain. Water washing over fresh cement can weaken the bond. Wait for a dry window if possible, even if the surface is moist.
Do I need to reinforce the repair with rebar?
Only if you’re filling a large gap or rebuilding a section of footing. For small cracks or surface repairs, rebar isn’t needed. But if you’re replacing a chunk of concrete that carried load, you must anchor rebar into the existing structure before pouring the repair cement.
Author
Damon Blackwood
I'm a seasoned consultant in the services industry, focusing primarily on project management and operational efficiency. I have a passion for writing about construction trends, exploring innovative techniques, and the impact of technology on traditional building practices. My work involves collaborating with construction firms to optimize their operations, ensuring they meet the industry's evolving demands. Through my writing, I aim to educate and inspire professionals in the construction field, sharing valuable insights and practical advice to enhance their projects.