Concrete Basics: What It Is, How to Use It & Simple DIY Tips
Concrete shows up everywhere – from your driveway to the office floor. At its core, it’s just cement, water, sand and gravel blended together. When you mix them right, the result is a hard, durable material that can hold up for decades.
Most people think you need a truck and a crew to work with concrete, but small jobs can be done at home with a few bags and a little patience. The key is understanding the mix, the pour, and the cure.
Choosing the Right Mix for Your Project
Ready‑mix concrete from a supplier is great for big slabs, but for DIY work you’ll probably use pre‑mixed bags. Look for a bag that mentions a strength rating – 20 MPa is fine for garden paths, while 30 MPa is better for driveways that see heavy traffic.
Always follow the water‑to‑cement ratio on the bag. Too much water makes the mix weak, too little makes it hard to work with. A good rule of thumb is a "slump" of about 4‑5 cm for a flat slab – you can test it by filling a small bucket and seeing how much the mix settles.
Step‑by‑Step: Pouring a Small Concrete Slab
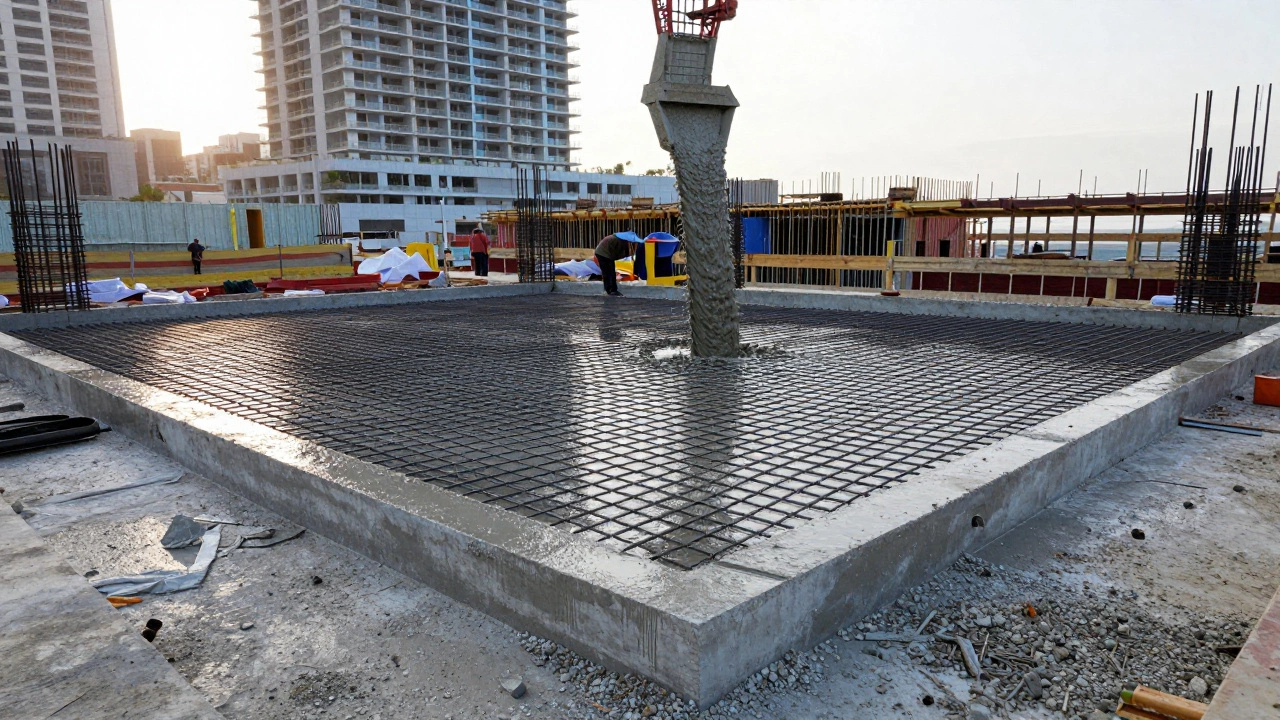
1. Prepare the site. Clear debris, level the ground and lay a compacted gravel base about 5‑10 cm deep. This provides drainage and reduces cracking.
2. Build a form. Use straight wooden boards or metal edge‑forms to outline the slab. Secure them with clamps so the walls stay rigid while the mix hardens.
3. Mix the concrete. In a wheelbarrow or a small mixer, add the bagged mix and the correct amount of water. Stir until you get a uniform, lump‑free paste.
4. Pour and spread. Dump the mix into the form and use a straight board (a screed) to level it. Walk the board across the form in a zig‑zag pattern to bring the surface to the right level.
5. Finish the surface. After the concrete starts to set (about 30‑45 minutes), use a float or trowel to smooth it. For a non‑slip finish on driveways, you can broom the surface lightly.
6. Cure properly. Keep the slab moist for at least 3‑5 days – cover it with a plastic sheet or mist it regularly. Proper curing prevents cracks and gives the concrete its full strength.
If you’re not comfortable doing a full pour, you can start with a simple repair patch. Clean the damaged area, apply a bonding agent, then fill with a quick‑set concrete mix. It’s a handy skill when you spot a small crack or chip.
When you’re done, remove the form boards, clean any excess material, and give the slab a quick wash. In a few days you’ll have a solid, level surface ready for cars, patio furniture or a garden path.
Concrete may seem intimidating, but with the right preparation and a bit of practice, most homeowners can tackle small projects themselves. For larger jobs or when you need a load‑bearing floor, it’s still a good idea to call a professional – they have the equipment and experience to get the job done right and on time.
Bottom line: understand the mix, prepare the base, keep the pour level, and cure it well. Follow these steps and you’ll get a strong, lasting concrete surface without breaking the bank.
What Is the Construction Material? A Simple Guide to Common Building Materials
Mar 22, 2026, Posted by Damon Blackwood
Construction material isn't one thing-it's concrete, timber, steel, brick, and more, each chosen for strength, cost, or climate. Learn what they do, where they're used, and how to pick the right one for your project.
MORE
What Type of Construction Are Most Commercial Buildings?
Feb 23, 2026, Posted by Damon Blackwood
Most commercial buildings use steel frame or reinforced concrete construction for strength, fire resistance, and durability. These materials support large spaces, heavy loads, and strict safety codes that wood and brick can't meet.
MORE
Top Three Construction Materials: Concrete, Steel, and Wood Explained
Jul 17, 2025, Posted by Damon Blackwood
Get to know the top three construction materials—concrete, steel, and wood. Discover their uses, advantages, and what makes each essential for modern building.
MORESEARCH HERE
Categories
TAGS
- foundation repair
- commercial construction
- construction
- new builds
- home improvement
- home renovation
- bathroom renovation
- construction materials
- residential construction
- building materials
- building codes
- home foundation
- building types
- renovation tips
- foundation cracks
- architectural services
- construction differences
- contractor
- home construction
- structural damage